ตัวอย่างเบื้องต้นสำหรับการพัฒนาแอปพลิเคชันบนแพลตฟอร์ม iOS ด้วยภาษาโปรแกรม Swift เวอร์ชัน 5 กับการทำงานร่วมกับ UIAlertController แจ้ง Alert
บทเรียนที่ควรศึกษาก่อนหน้า:
- เริ่มต้นพัฒนาแอปพลิเคชัน iOS ด้วย Swift เวอร์ชัน 5
- เขียนแอปพลิเคชัน iOS ด้วย Swift 5 การใช้งาน UITextField รับค่าแป้นพิมพ์
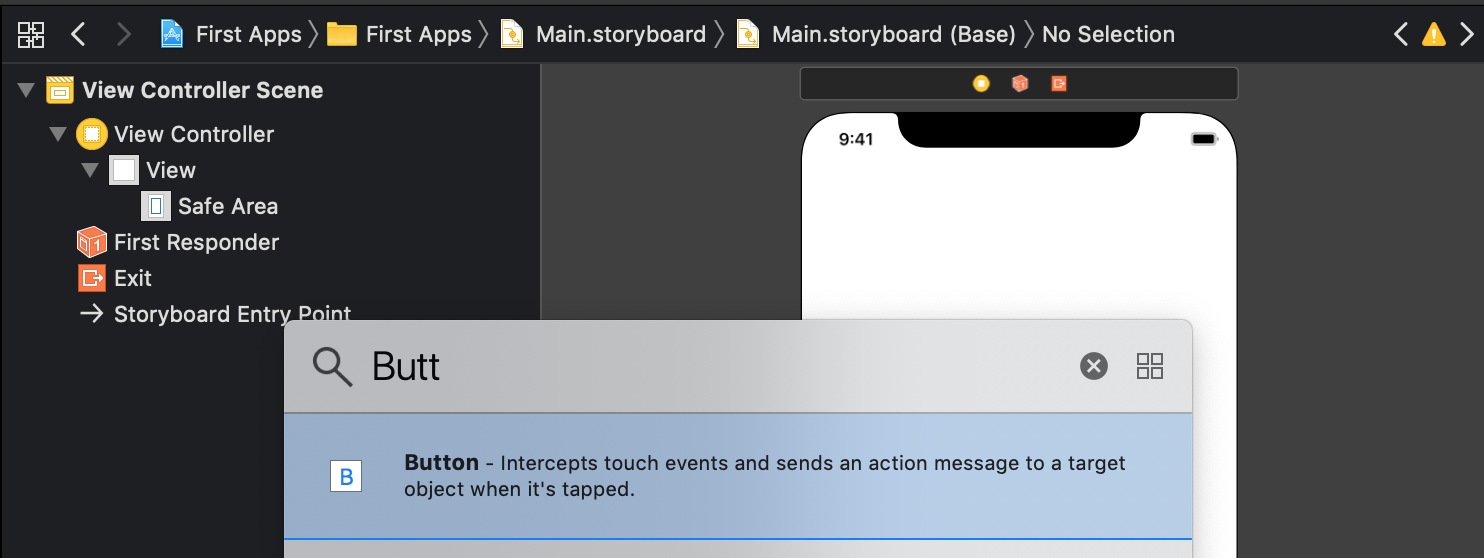
ในบทเรียนนี้จะเป็นการทำงานร่วมกับ UIAlertController หน้าต่างการแจ้งเตือนซึ่งก็เป็นส่วนที่มีความสำคัญประมาณหนึ่งอยู่พอสมควร ให้ทำการสร้าง Project ใหม่เป็น Single View App ขึ้นมาหลังจากนั้นสร้าง UIButton ที่หน้าจอการทำงานของเราให้เรียบร้อย
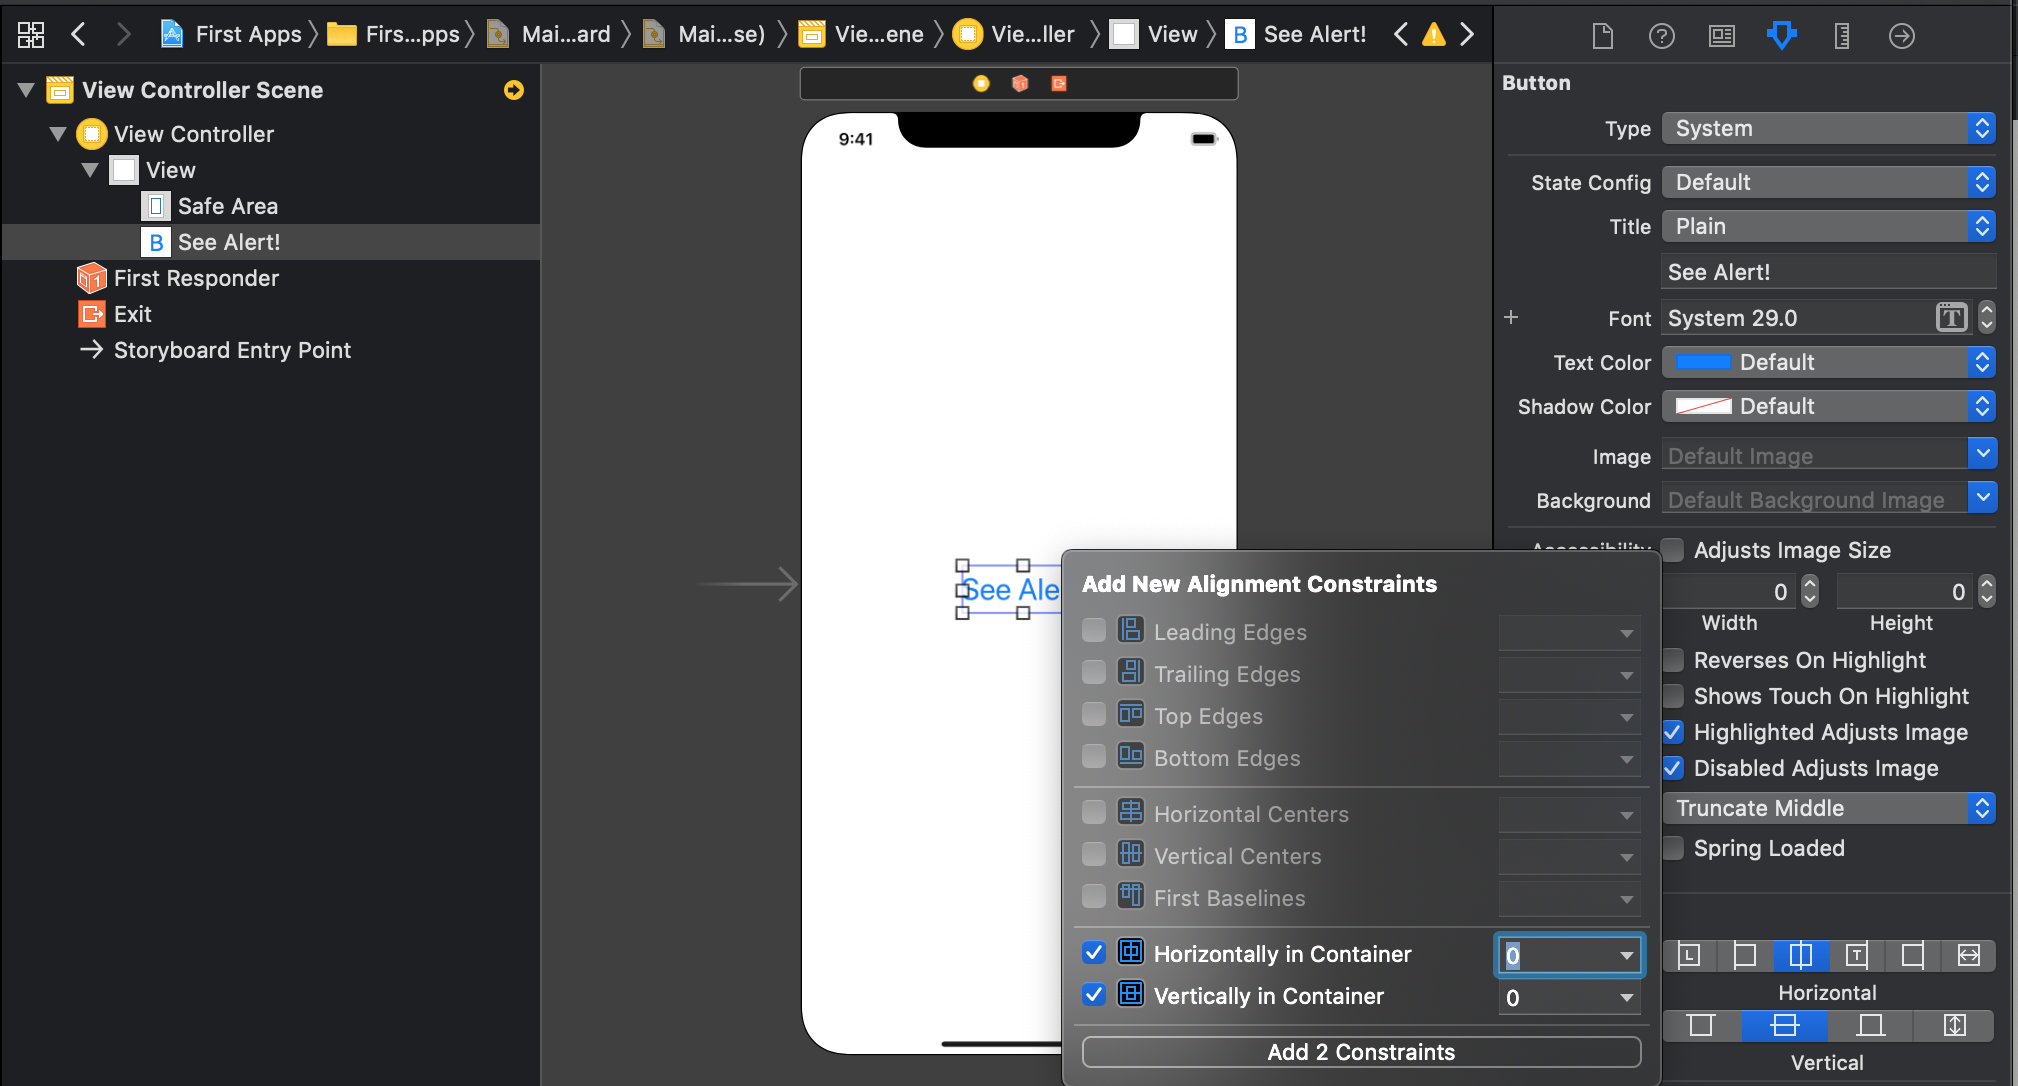
ทำการผูก Contraint ให้เรียบร้อย หลังจากนั้นรับตั้งค่าใน Attribute Inspector เสีย
คลิกที่ UIButton หลังจากนั้นกดปุ่ม Control ค้างลากไปสร้าง IBAction ของ ViewController.swift ให้เรียบร้อย
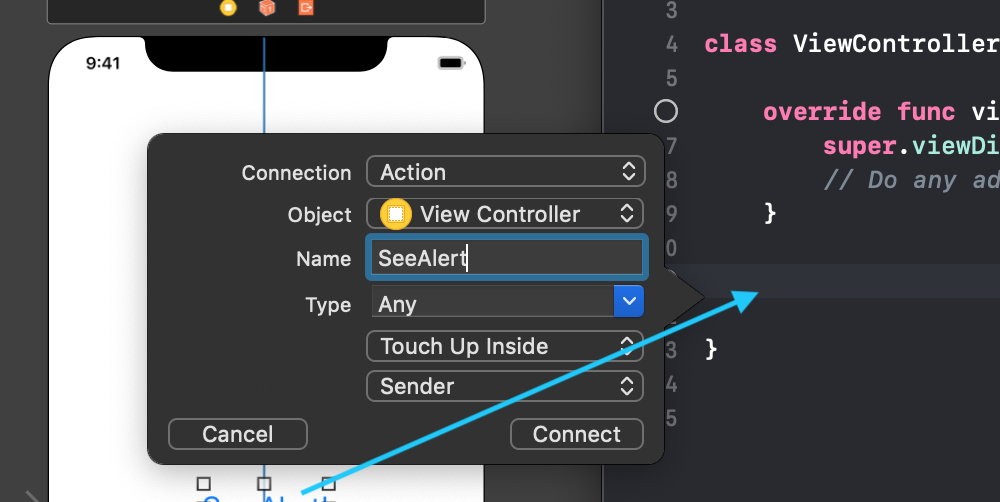
ตั้งชื่อว่า SeeAlert() เขียนคำสั่งต่อไปนี้ง่ายๆ
@IBAction func SeeAlert(_ sender: Any) {
        var alertbox = UIAlertController(title: "Yeah", message: "Mother Fcuker", preferredStyle: .alert)
        alertbox.addAction(UIAlertAction(title: "Get It!",
                                      style:.default,
                                      handler: nil))
        self.present(alertbox,animated: true, completion: nil)
    }
ทำการ Run แอปพลิเคชันของเราดูผลลัพธ์
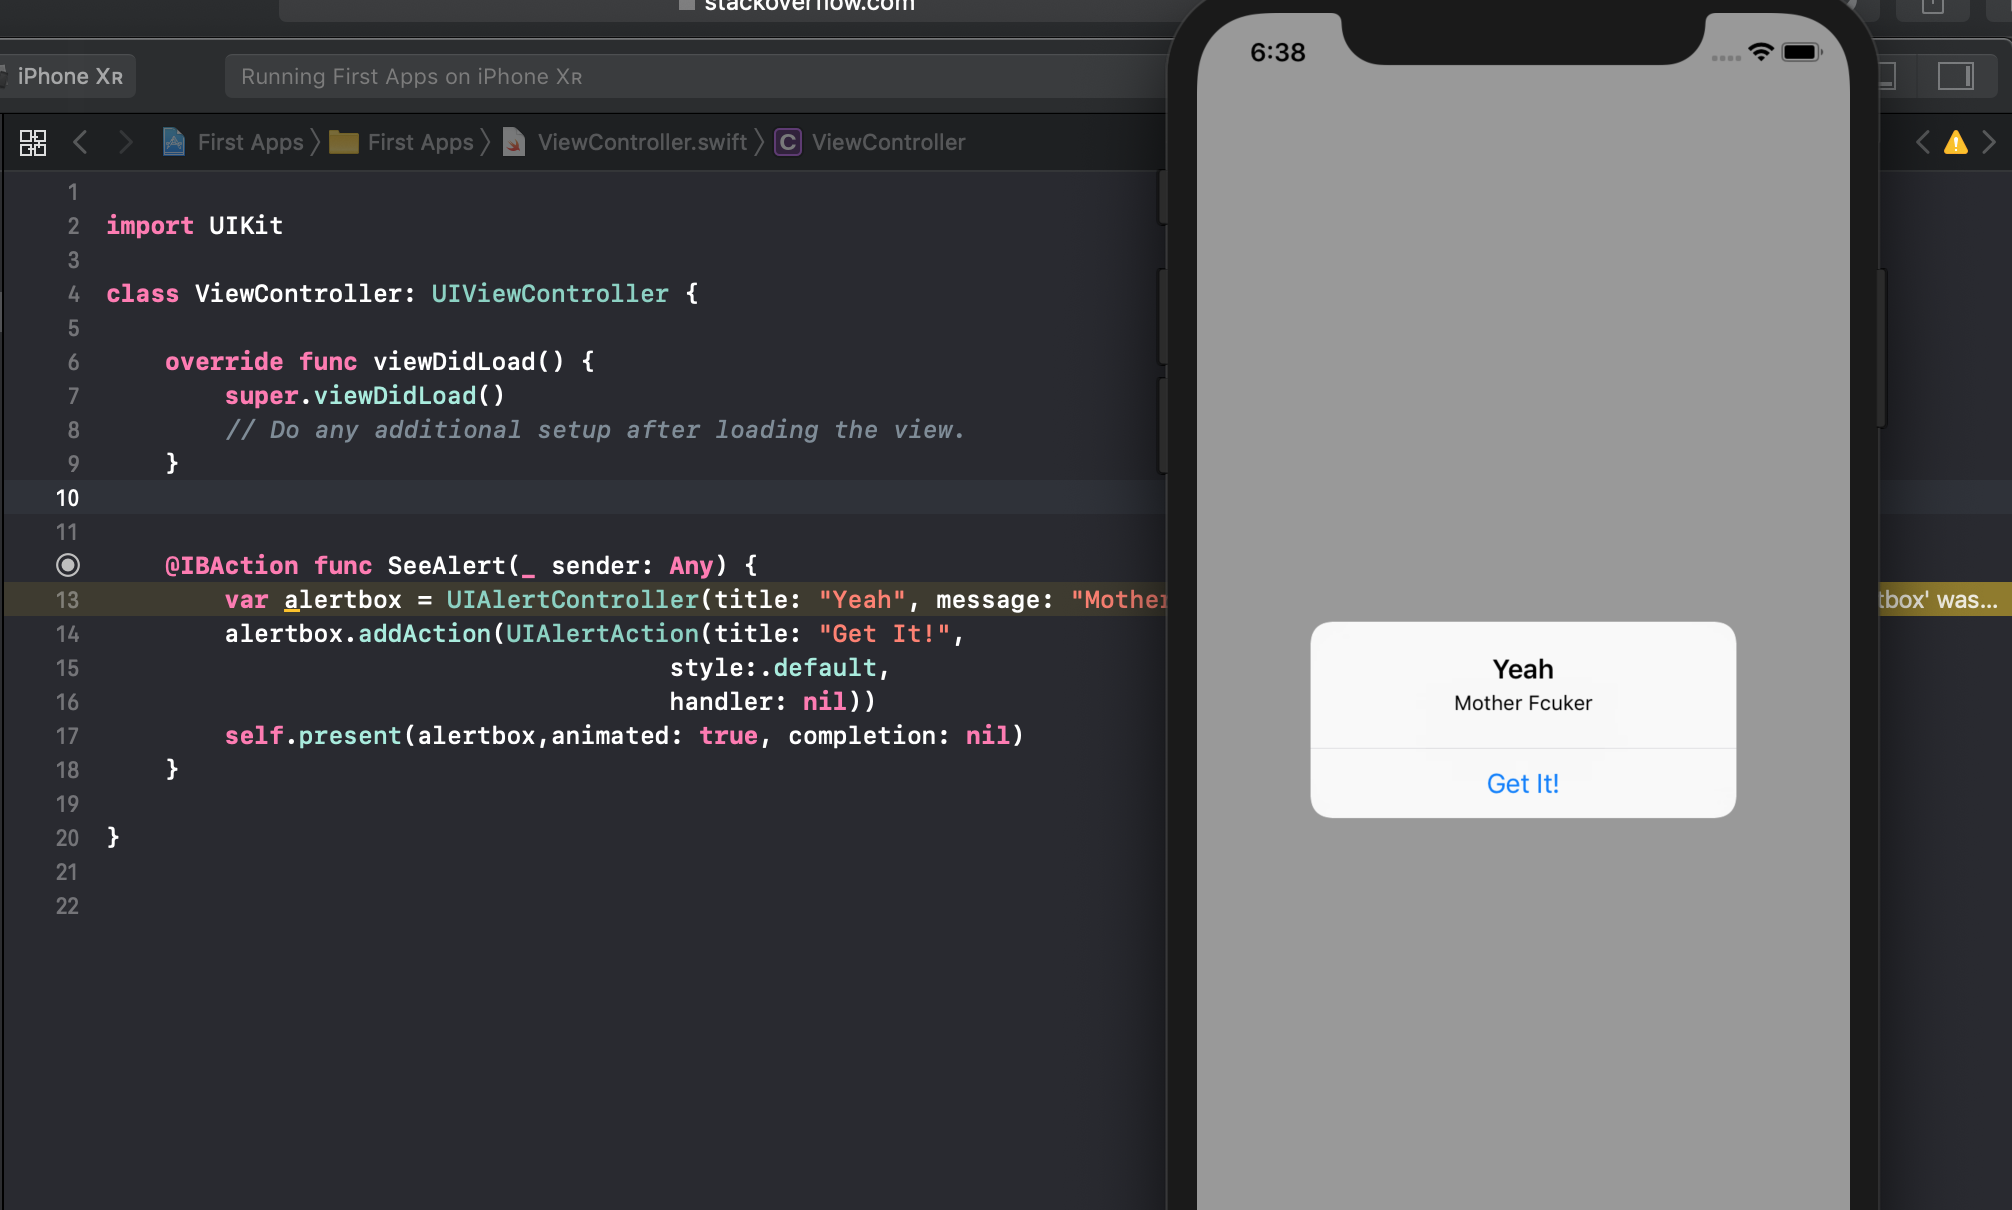
อาจจะเหมือนว่าเสร็จแล้วแต่จริงๆ ยัง ลองมาเล่นอะไรสนุกๆ เพิ่มเติมเล็กน้อย ลองเพิ่ม UILabel เข้าไปแล้วสร้าง IBoutlet ใหม่ ว่า ShowText
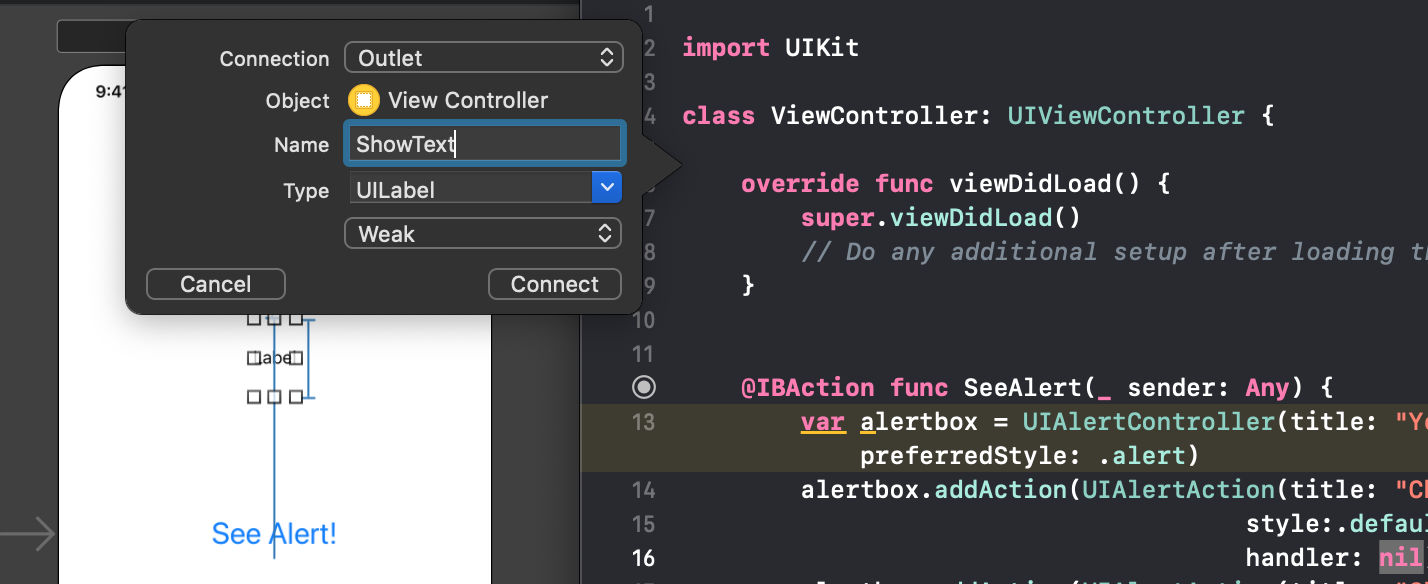
เอาล่ะ แก้ไข @IBAction functionalists SeeAlert() ใหม่เป็นแบบนี้ (เพิ่มส่วนของ handled ใหม่ให้มีทางเลือก)
@IBAction func SeeAlert(_ sender: Any) {
        var alertbox = UIAlertController(title: "Yeah", message: "Mother Fcuker", preferredStyle: .alert)
        alertbox.addAction(UIAlertAction(title: "Choose Left",
                                      style:.default,
                                      handler: {UIAlertAction in self.ShowText.text = "OK Left"}))
        alertbox.addAction(UIAlertAction(title: "Choose Right",
                                         style:.default,
                                         handler: {UIAlertAction in self.ShowText.text = "OK Right"}))
        self.present(alertbox,animated: true, completion: nil)
    }
ลองเทส แล้วเลือก ปุ่ม ซ้ายหรือขวาดูจะพบความแตกต่าง:
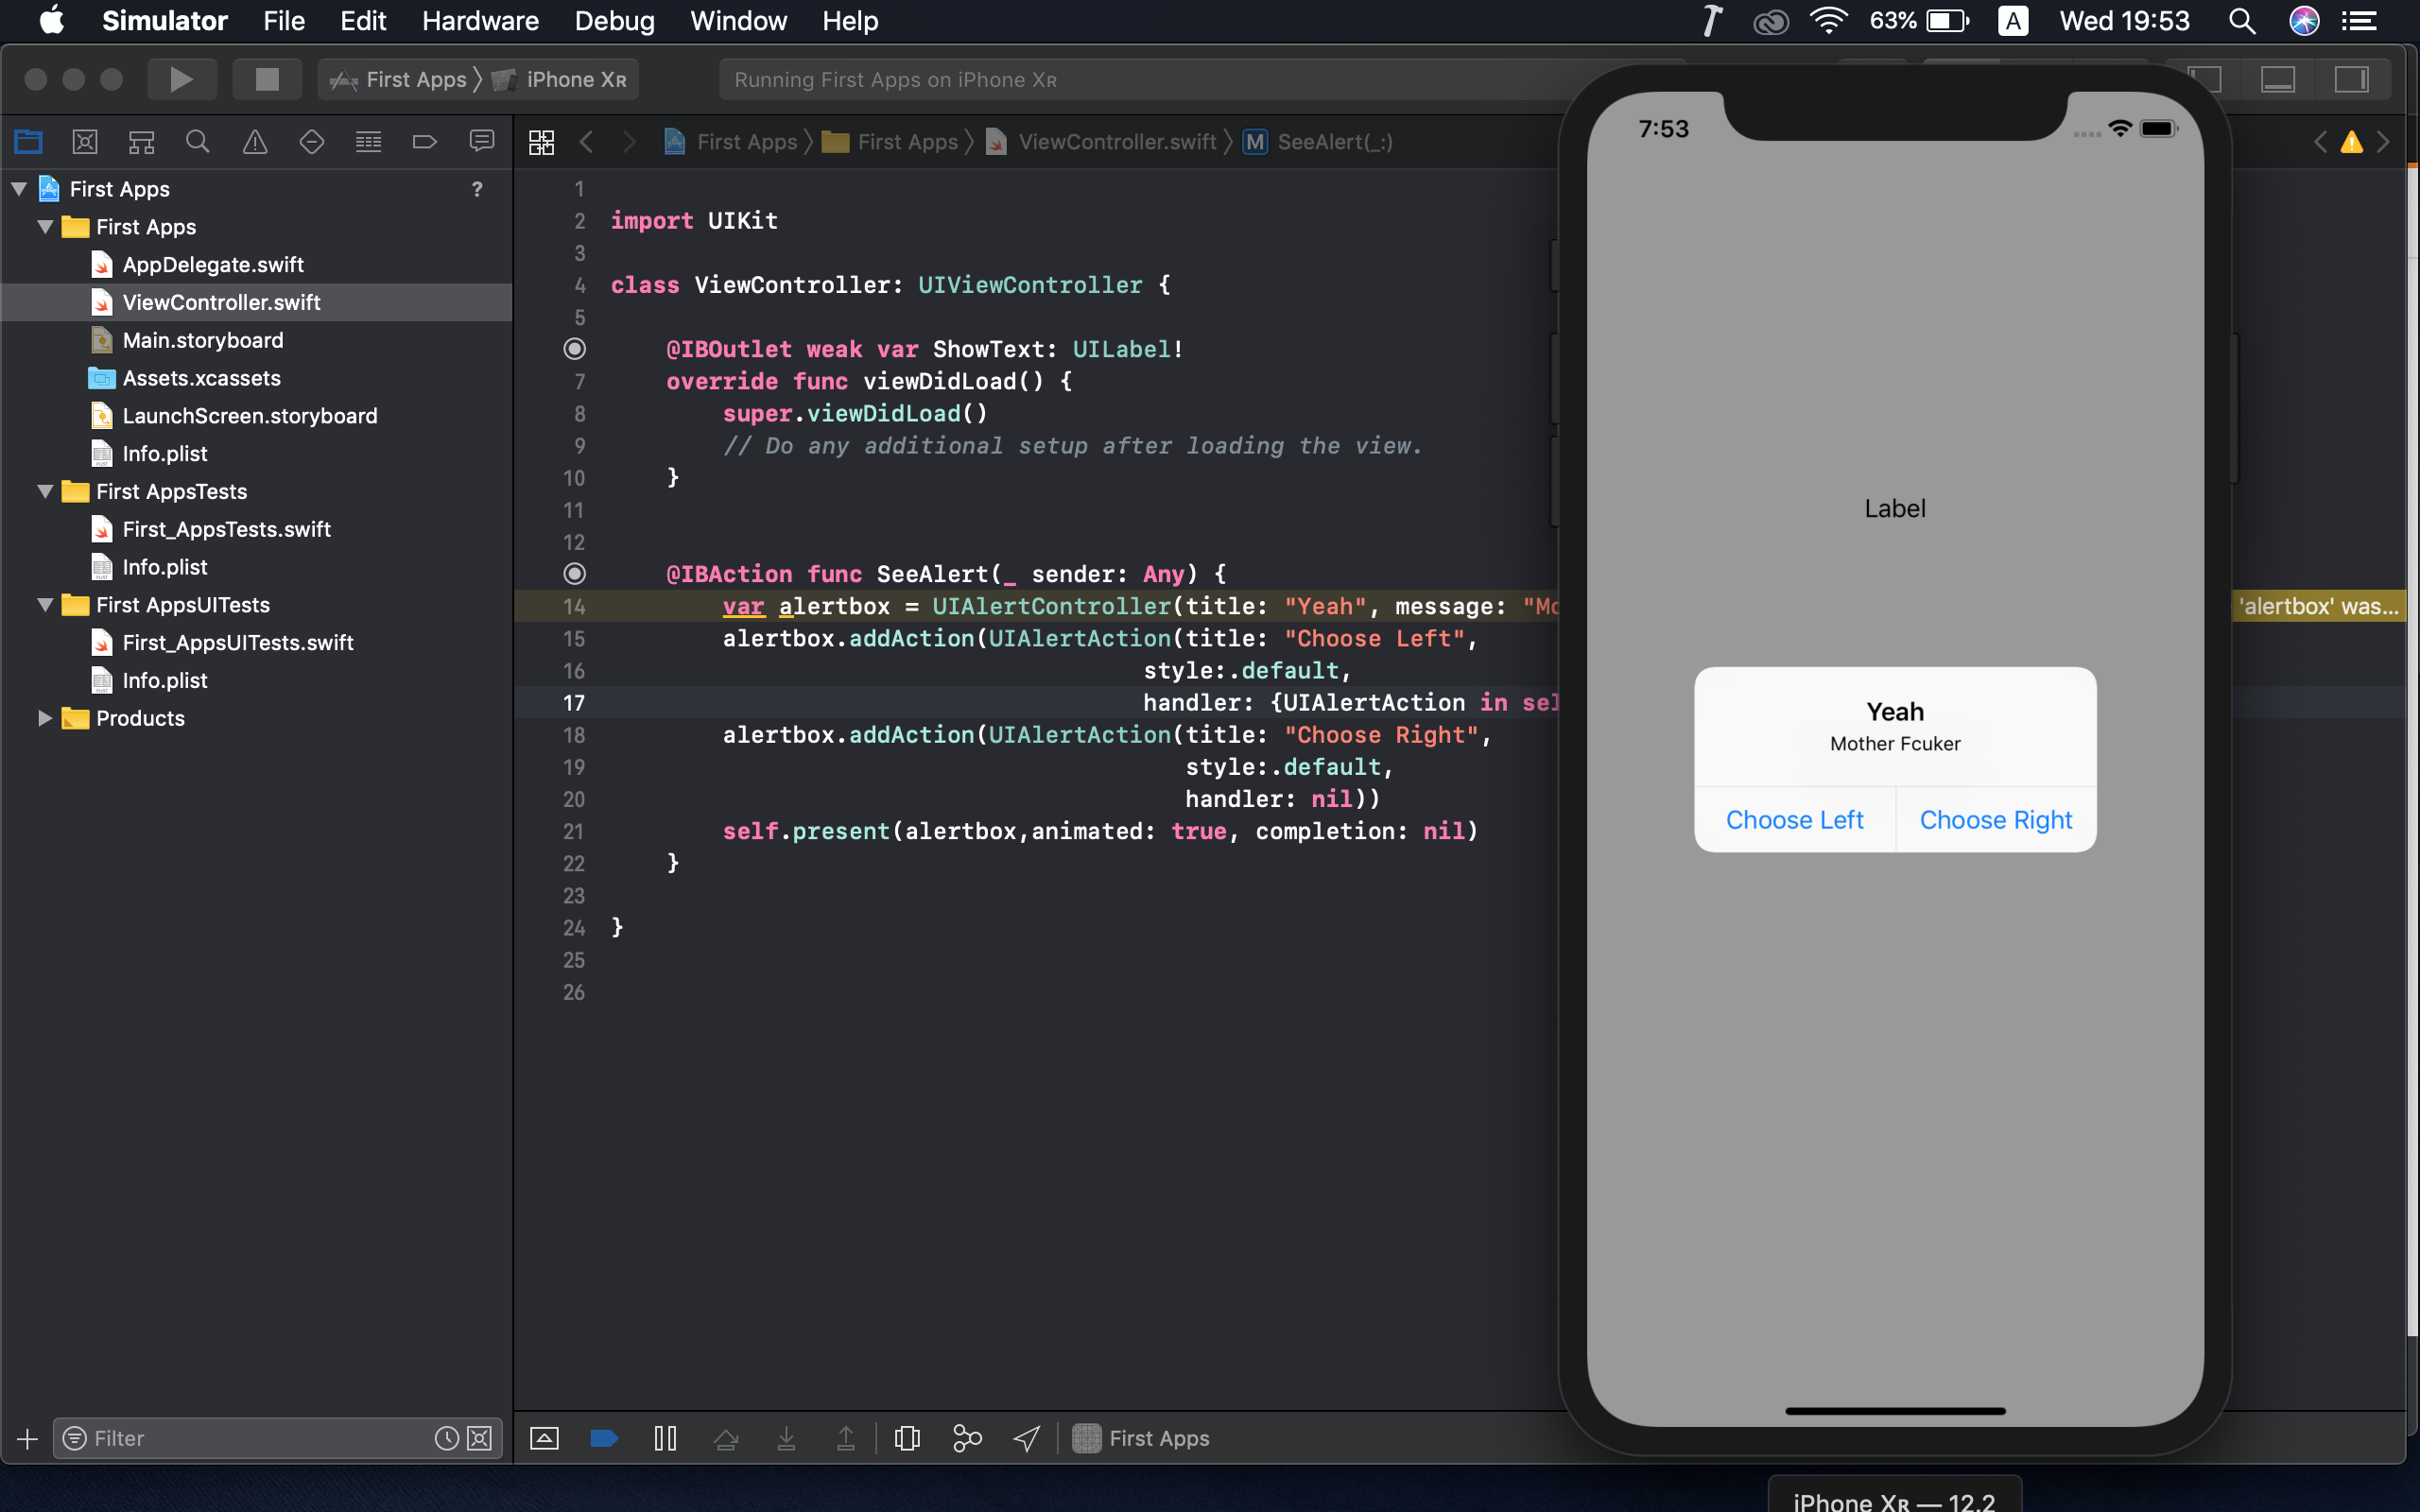
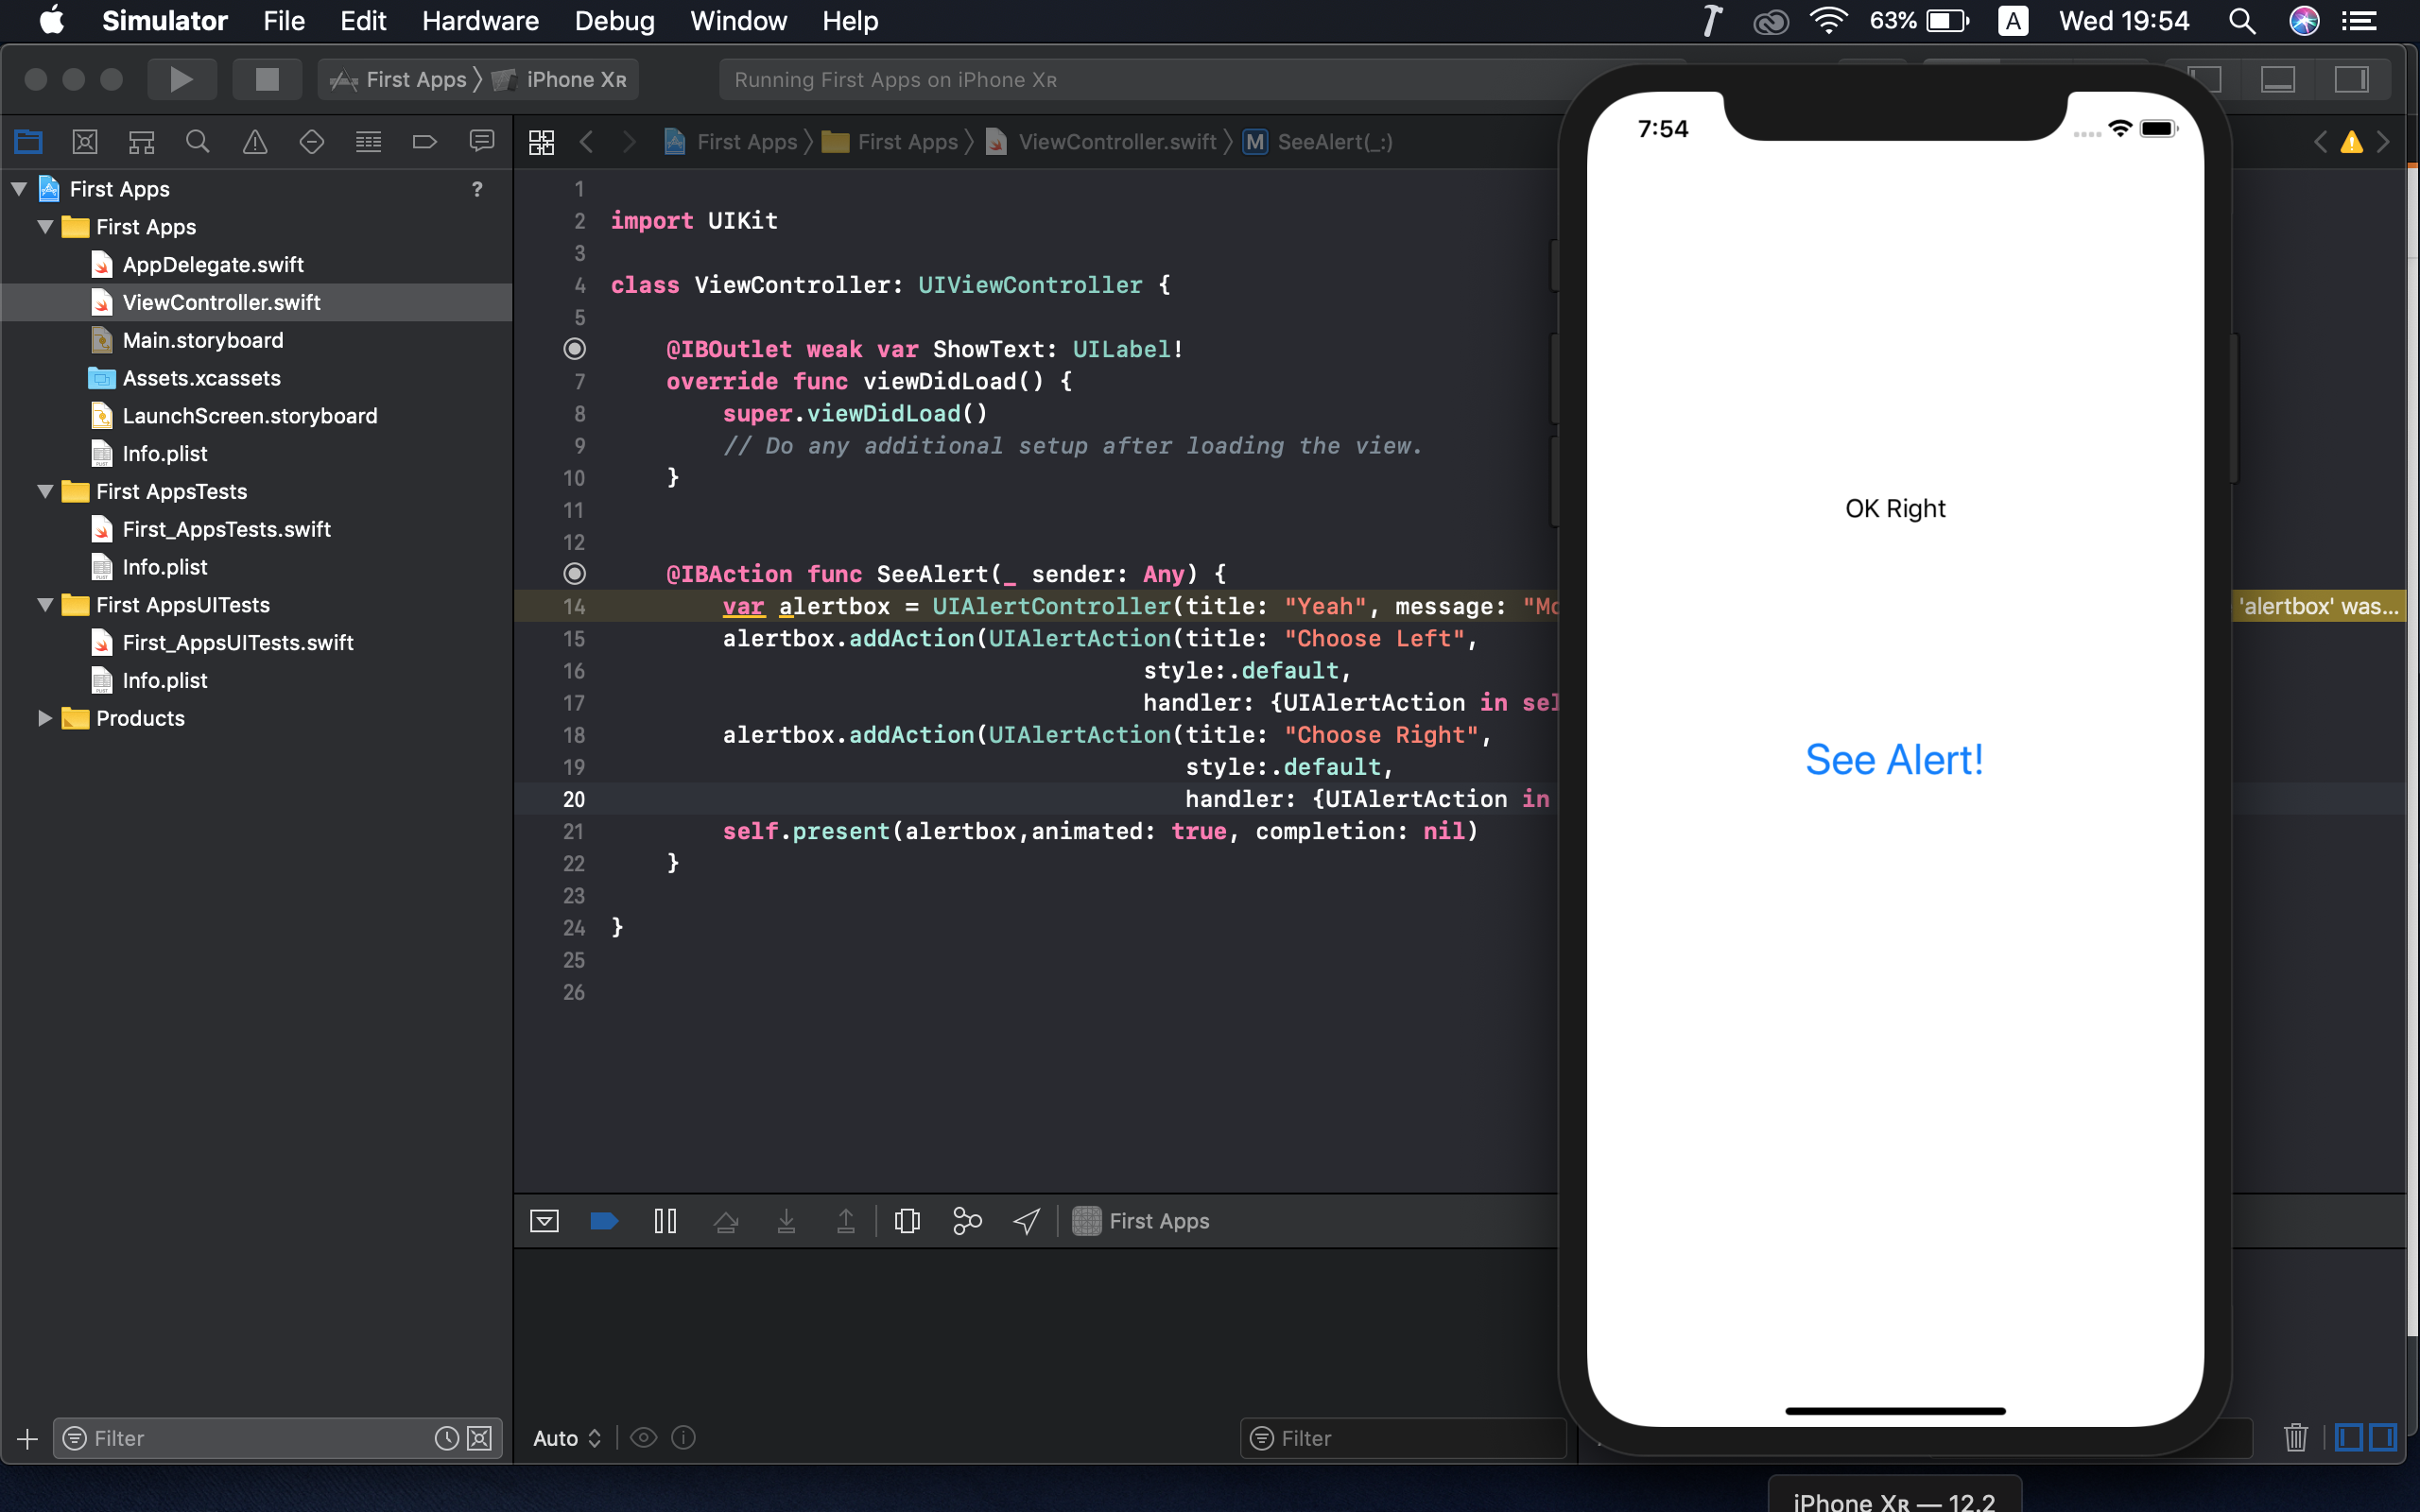
เป็นการแสดงผลลัพธ์ของ UILabel ให้เปลี่ยนไปตามที่เรากำหนดเวลากดปุ่มเลือกภายในของ UIAlertAction ที่สร้างขึ้นมานั่นเอง
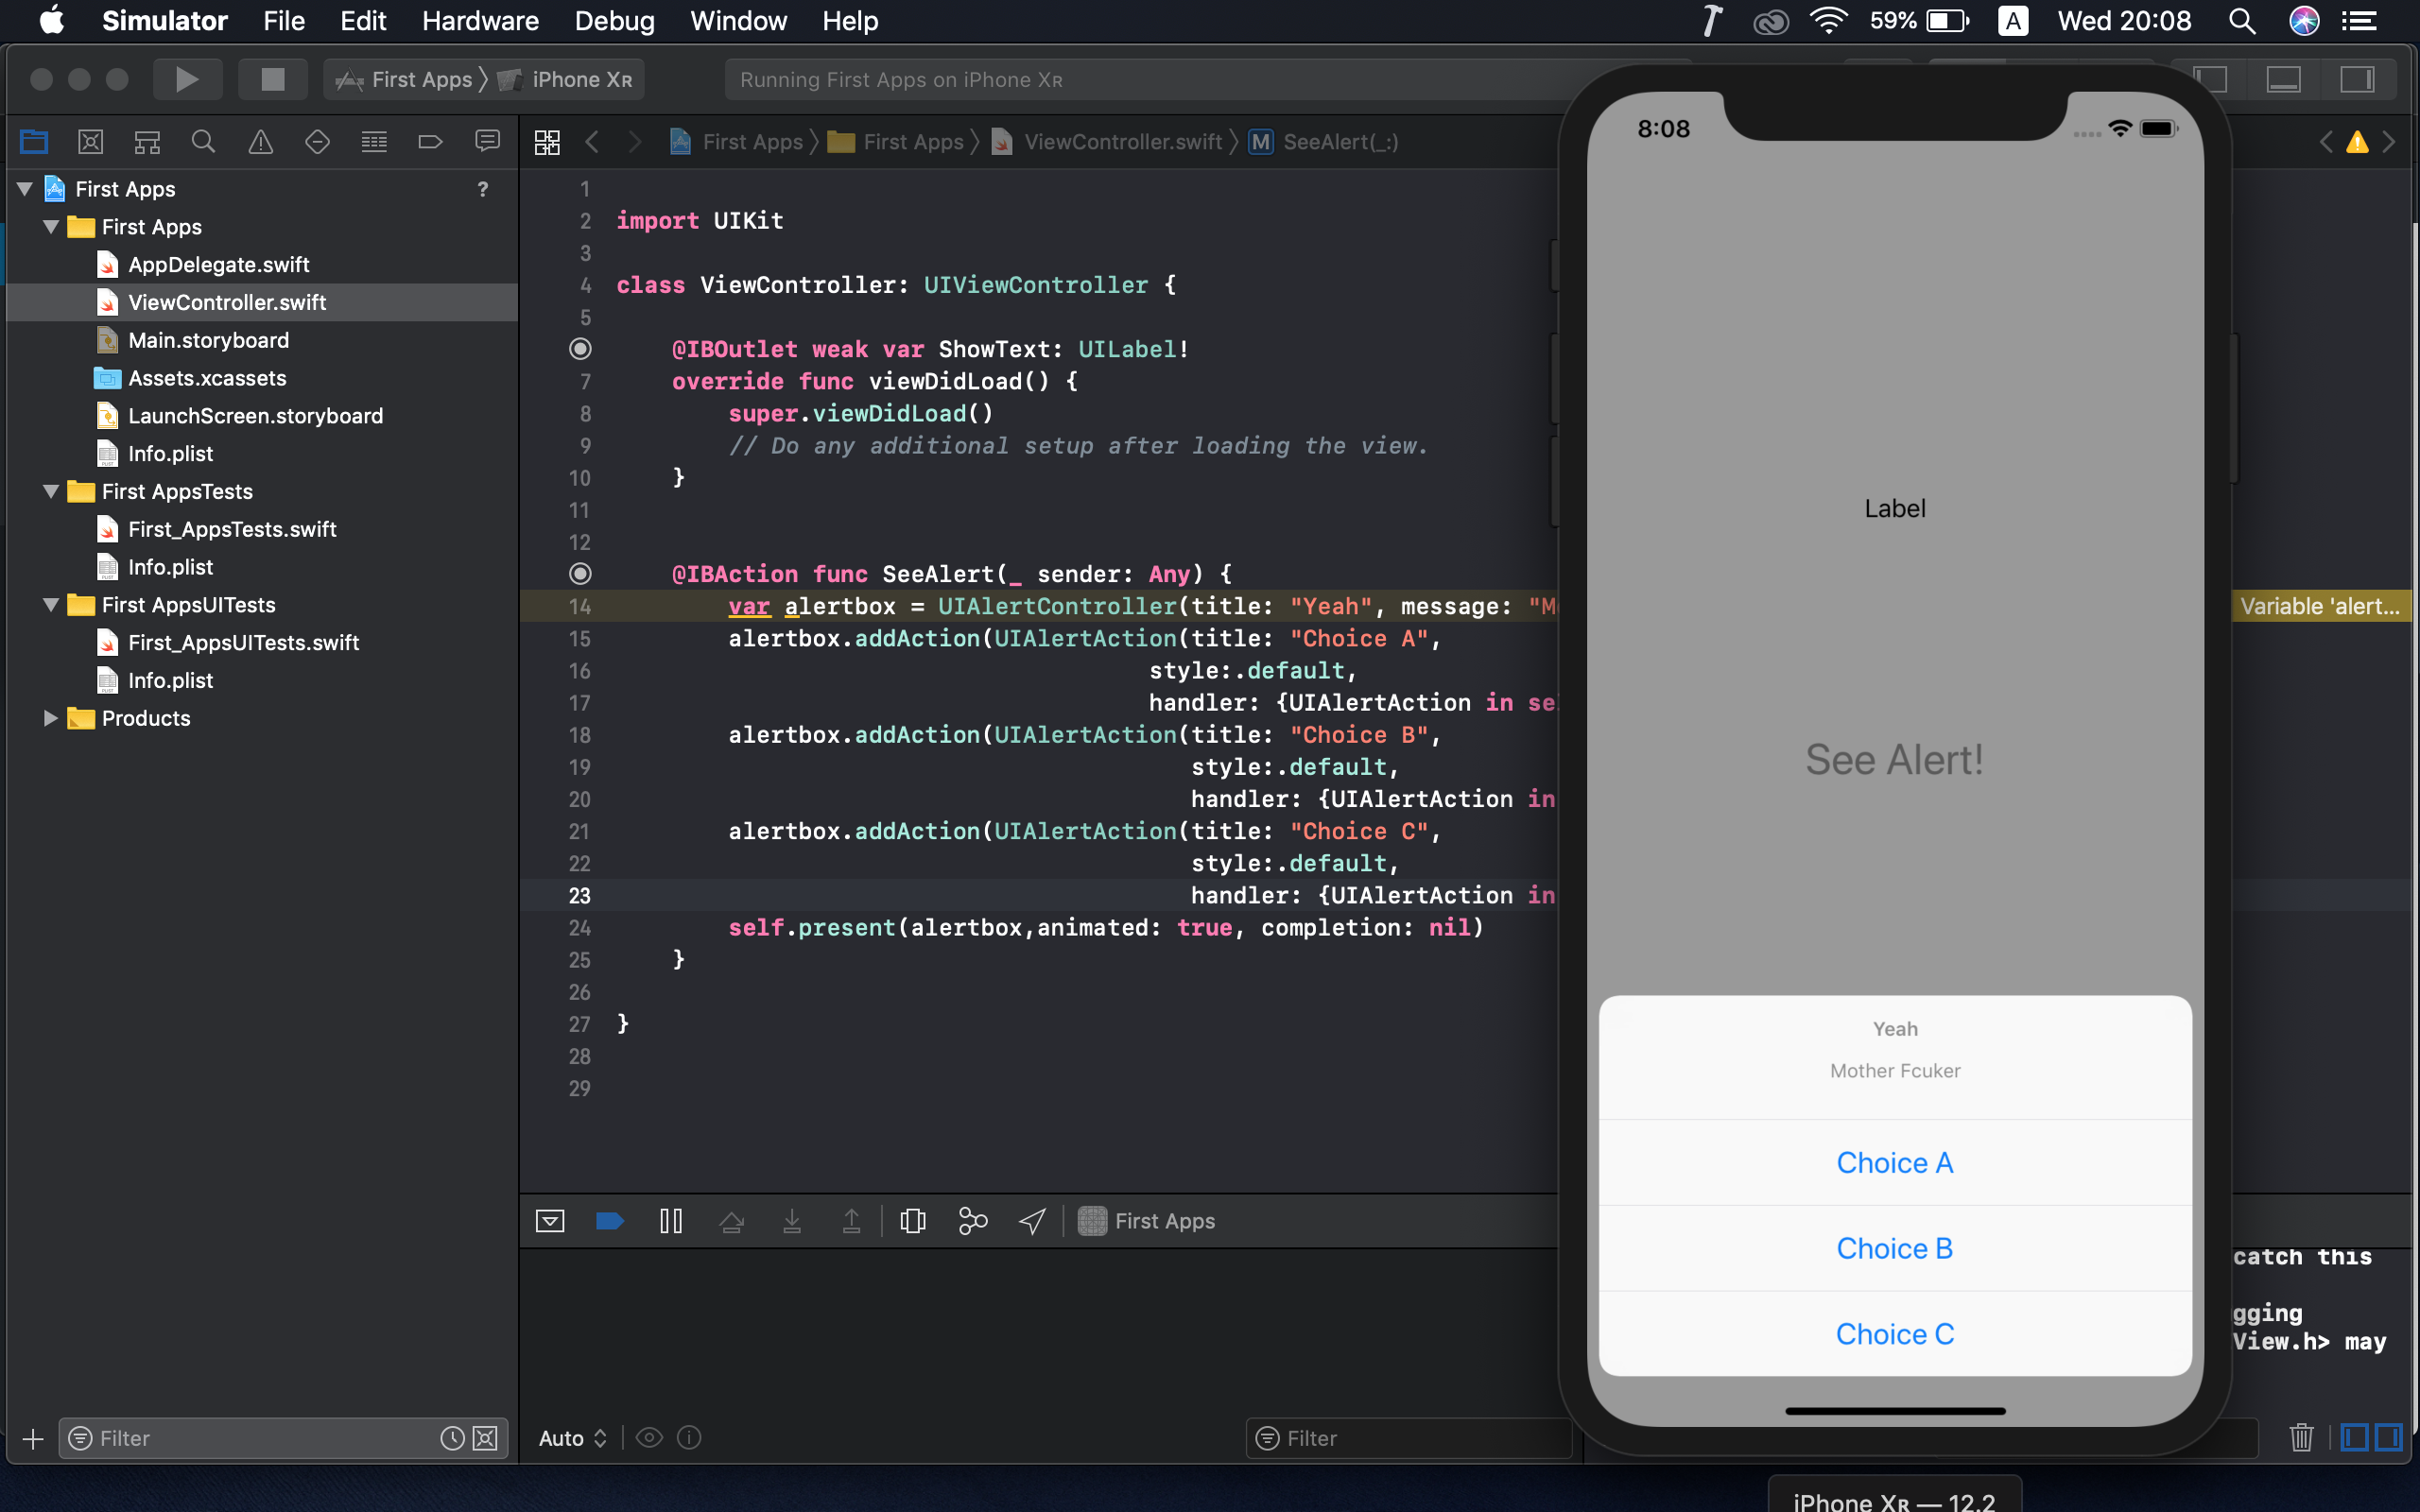
ลองแก้ไข PreferStyles ของ UIALertController จาก .alert เป็น .actionsheet ดูก็ได้นะครับ เช่นแก้ไขเป็น
@IBAction func SeeAlert(_ sender: Any) {
        var alertbox = UIAlertController(title: "Yeah", message: "Mother Fcuker", preferredStyle: .actionSheet)
        alertbox.addAction(UIAlertAction(title: "Choice A",
                                      style:.default,
                                      handler: {UIAlertAction in self.ShowText.text = "Asa Akira"}))
        alertbox.addAction(UIAlertAction(title: "Choice B",
                                         style:.default,
                                         handler: {UIAlertAction in self.ShowText.text = "Kalina Ryu"}))
        alertbox.addAction(UIAlertAction(title: "Choice C",
                                         style:.default,
                                         handler: {UIAlertAction in self.ShowText.text = "Abella Danger"}))
        self.present(alertbox,animated: true, completion: nil)
    }
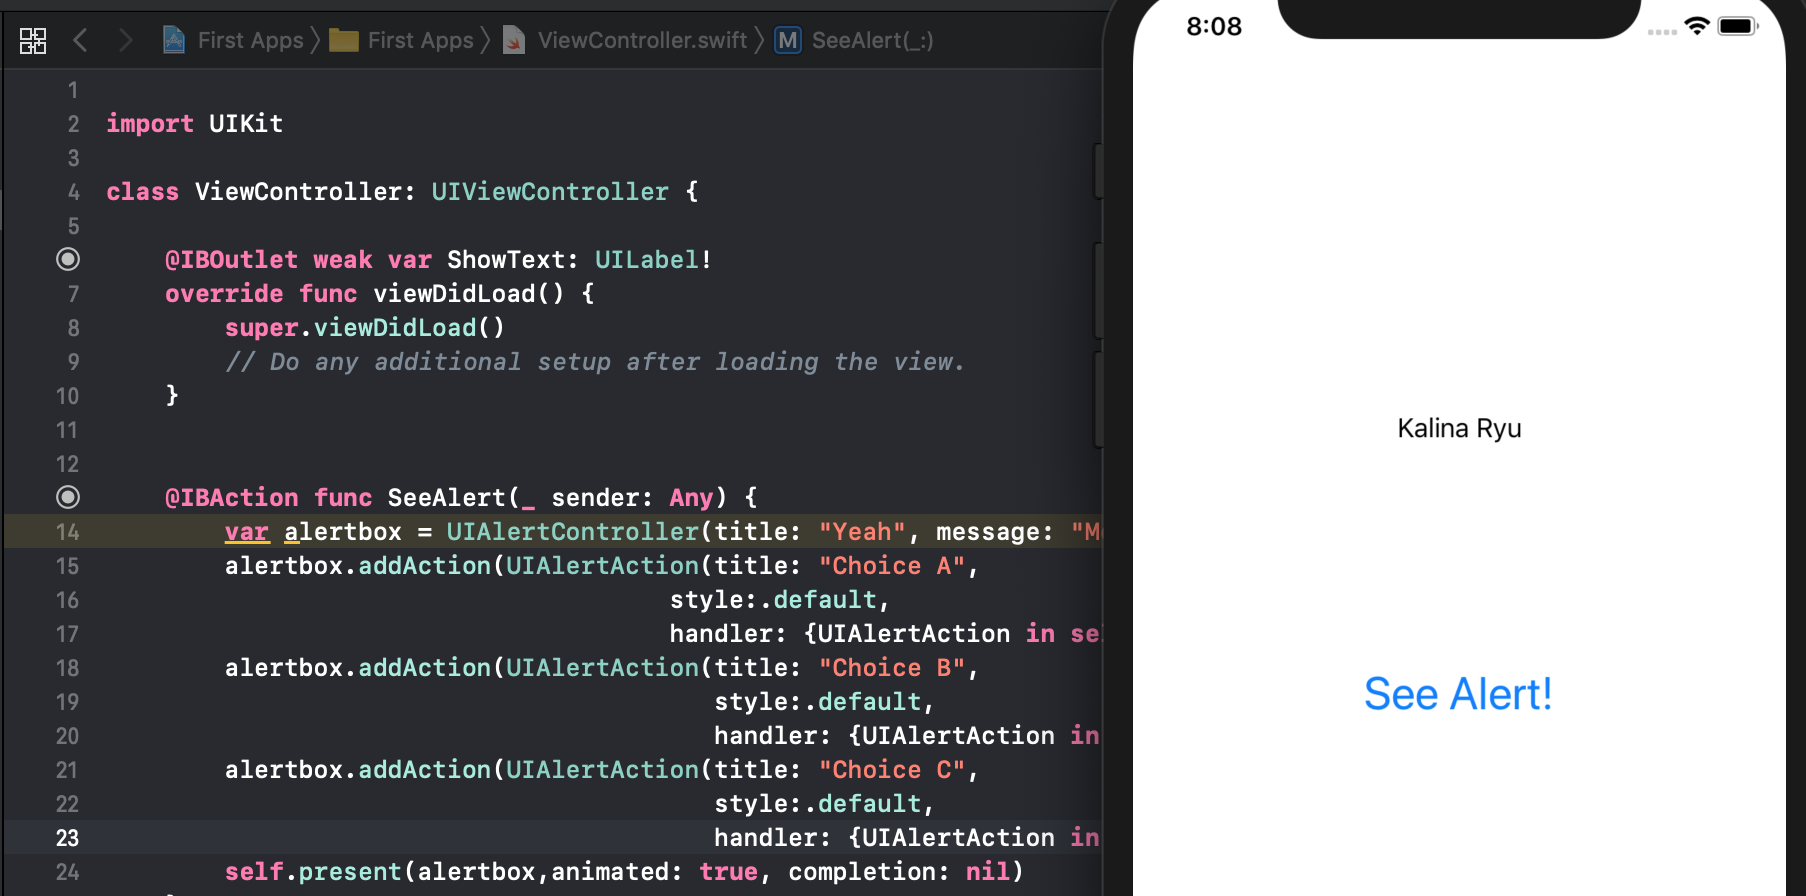
ผมทำ Choice ดาราสาว 3 คนให้เลือก:
ระบบจะเรียก alert เป็น action sheet แล้วเมื่อเราเลือก choice B จะได้หน้าตาเป็นแบบนี้
บทเรียน Basic ก็ยังงี้แหละครับใช้เวลาไม่นาน ลองไปฝึกกันดูนะ