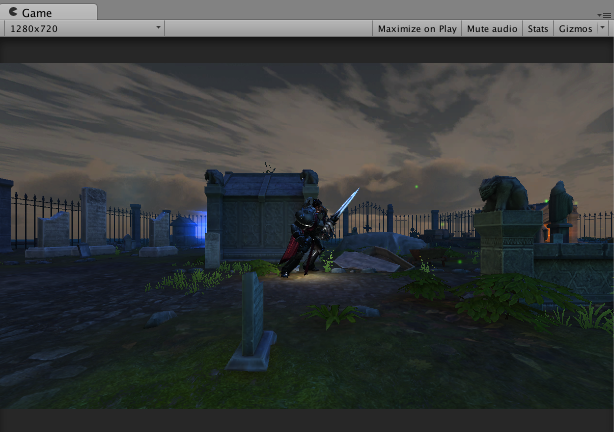
ตัวอย่างการปรับมุมกล้อง และสร้าง Camera Control ให้วิ่งตามตัวละครของเราในแนบระนาบ 2.5D ด้วย Unity 3D กับแนวเกม Beat Em Up อีกวิธีหนึ่งที่น่าจะปรับใช้ได้ง่าย
ตัวอย่างก่อนหน้า Unity 2.5D สร้างเกมเดินต่อสู้ Beat Em Up ตอนที่ 1 เราจะใช้งานการหมุนกล้องให้เห็นแนวระนาบเดียว แต่เมื่อทำ Camera วิ่งตามตัวละครจะพบปัญหาคือการ หันข้างซ้ายขวา ตัดปัญหาคือเอากล้องออกมาให้เห็น ฉากกว้างๆ
แต่ถ้าต้องการทำเกมแนว Side Scrolling ที่เป็น 2.5D ล่ะจะทำยังไงดี แบบว่าต้องการให้กล้องวิ่งตามตัวละครไปด้วย บทเรียนนี้จึงได้ปรับแต่งให้ลองทำตามกันดูครับ
สิ่งที่ต้องมี
1. คือตัวละครที่มีการ Rigged กระดูกให้รองรับ Unity ครับ
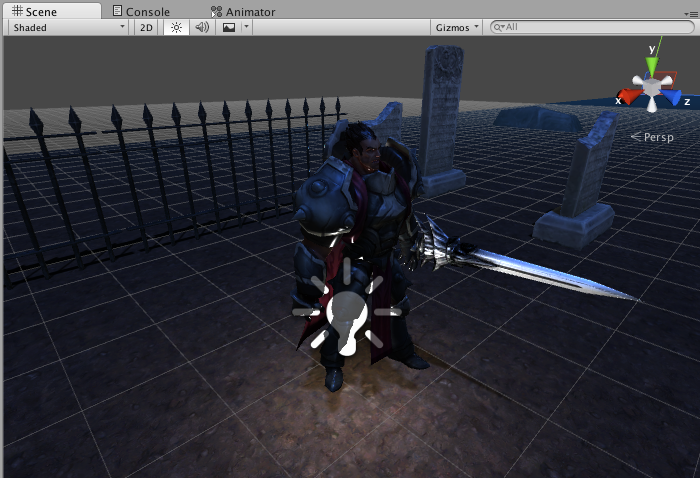
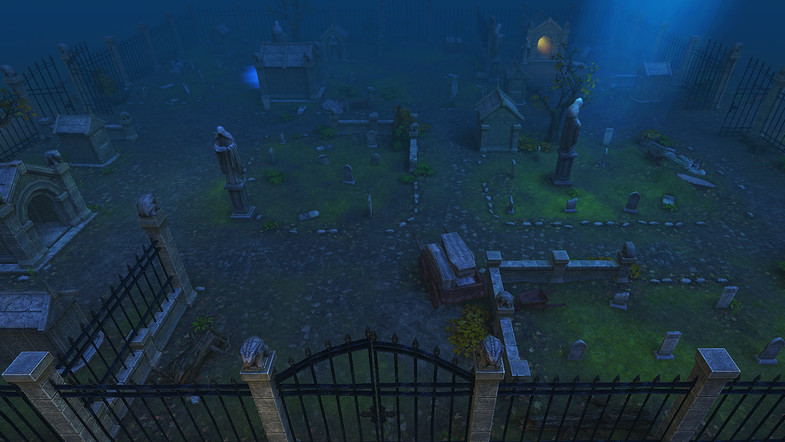
2. คือฉากสวยๆจาก Asset Store แนะนำให้ลองโหลดตัวนี้ดูครับ https://www.assetstore.unity3d.com/en/#!/content/8312
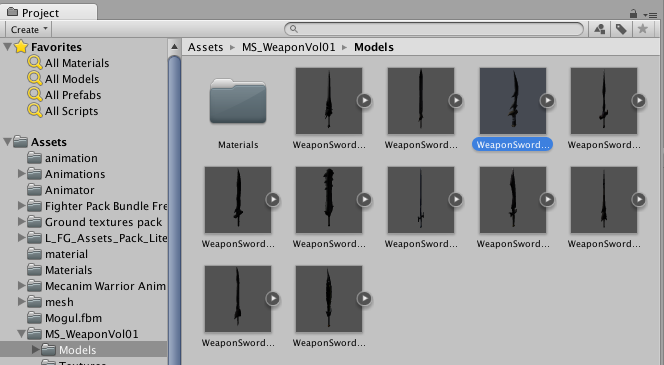
3. คืออาวุธเท่ และ Animation การต่อสู้การวิ่งการเดินให้ไปหาเตรียมพร้อมไว้ครับ
ต่อไปนี้ผมจะไม่อธิบายเรื่องการ ติดตั้งตัวละครแบบ Humanoid และการสร้าง Animator แล้วนะครับ เพราะคิดว่าน่าจะเป็นกันแล้วจากหลายๆ บทเรียน ศึกษาที่:
- เขียนเกม Unity การทำ Humanoid ให้กับ โมเดลตัวละคร 3 มิติ
- เขียนเกม 3 มิติด้วย Unity การใช้ Animator Controller
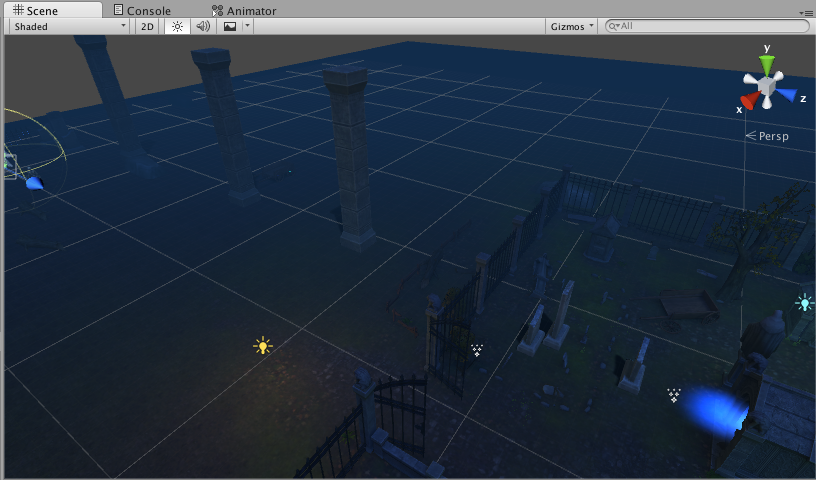
ให้ออกแบบฉากให้เรียบร้อย
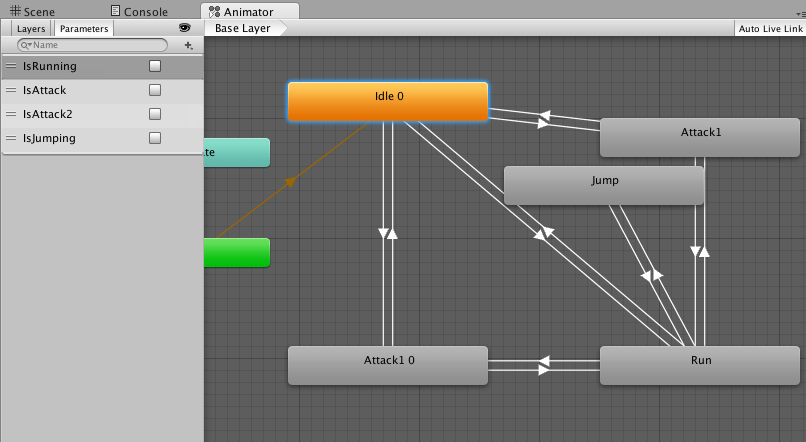
ทำการเซ็ต Animator กับ Animation ให้เสร็จสรรพ ณ ที่นี้ผมใช้ Parameter ต่อไปนี้
- IsRunning – สำหรับการวิ่ง
- IsAttack – สำหรับการโจมตี
- IsAttack2 – สำหรับการโจมตีแบบสอง
- IsJumping – สำหรับการกระโดด
ทั้งหมดเป็น Bool ครับ
ต่อมาให้เราสร้าง C# Script ขึ้นมาว่า character.cs ครับ ใส่ code ต่อไปนี้ลงไป พร้อมทั้งใส่ Inspector ตามนี้ครับ
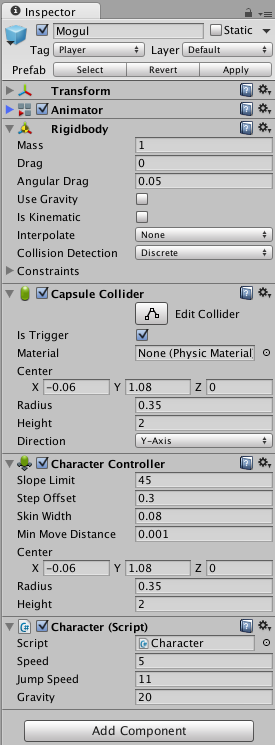
Code ไฟล์ character.cs ให้ประกาศ ตัวแปรต่อไปนี้
Animator anim;
public float speed = 5F;
public float jumpSpeed = 11.0F;
public float gravity = 22.0F;
private Vector3 moveDirection = Vector3.zero;
private Quaternion lookLeft;
private Quaternion lookRight;
เมธอด Start() และ Update()
void Start(){
		anim = GetComponent <Animator> ();
		Time.timeScale = 1;

		lookRight = transform.rotation;
		lookLeft = lookRight * Quaternion.Euler(0, 180, 0);
	}
void Update() {
		CharacterController controller = GetComponent<CharacterController>();
		if (controller.isGrounded) {
			anim.SetBool ("IsRunning", false);
			anim.SetBool ("IsAttack", false);
			anim.SetBool ("IsAttack2", false);
			anim.SetBool ("IsJumping", false);
			moveDirection = new Vector3(0, 0, Input.GetAxis("Horizontal"));
			moveDirection *= speed;

			if (Input.GetKey(KeyCode.A)){
				transform.rotation = lookLeft;
				moveDirection = transform.TransformDirection(-moveDirection);
				moveDirection *= speed;
				anim.SetBool ("IsRunning", true);
			}
			if (Input.GetKey(KeyCode.D)){
				transform.rotation = lookRight;
				moveDirection = transform.TransformDirection(moveDirection);
				moveDirection *= speed;
				anim.SetBool ("IsRunning", true);
			}

			if (Input.GetKey(KeyCode.P)){
				anim.SetBool ("IsAttack", true);
			}
			if (Input.GetKey(KeyCode.O)){
				anim.SetBool ("IsAttack2", true);
			}
			if (Input.GetButton("Jump")){
				moveDirection.y = jumpSpeed;
				anim.SetBool ("IsJumping", true);
			}

		}
		moveDirection.y -= gravity * Time.deltaTime;
		controller.Move(moveDirection * Time.deltaTime);
	}
สังเกตจะเหมือนตัวอย่างก่อนหน้าเลย การบังคับควบคุมตัวละครคือ กด A วิ่งไปซ้าย กด D วิ่งไปขวา กด Space Bar กระโดด กด O,P เป็นการโจมตี
ไปที่ MainCamera บน Scene View สร้าง C# Script ขึ้นมาเช่นกันตั้งชื่อว่า CameraX.cs ครับ ใส่ Code ต่อไปนี้
using UnityEngine;
using System.Collections;

public class CameraX : MonoBehaviour {
	public GameObject playerObject;
	public float cameraOffset = 2.0F;
	void Update(){
		Vector3 cameraPosition = new Vector3(playerObject.transform.position.x+ (cameraOffset*3),
		                                     playerObject.transform.position.y+ (cameraOffset-1),
		                                     playerObject.transform.position.z);
		GetComponent<Camera>().transform.position = cameraPosition;
	}
}
การกำหนดระยะของกล้องสามารถปรับที่การเพิ่มลดค่าส่วนนี้ตามความเหมาะสมของผู้พัฒนาครับ
playerObject.transform.position.x+ (cameraOffset*3), playerObject.transform.position.y+ (cameraOffset-1),
playerObject.transform.position.z
เป็นการกำหนดค่าให้กล้องวิ่งตามตัวละครของเรา แบบ 2.5D ครับ โดยการหันซ้าย หรือ ขวา นั้นไม่มีผลกับแกนของกล้อง
ทดสอบ ลองวิ่งไปมาในฉากดู จะเห็นว่าโอเคแล้ว
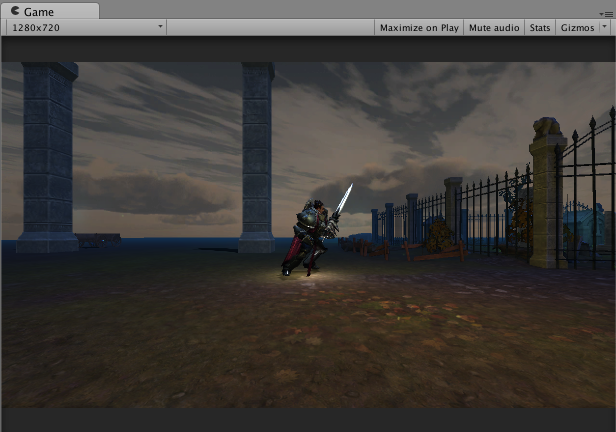
ดูวีดีโอกันหน่อยดีกว่า ว่ามัน Smooth แค่ไหน
ถ้าพัฒนาเกมเป็น Demo เกมแนวนี้ก็จะเหมือนวีดีโอตัวนี้ครับ ยังมี Bug เล็กน้อยคงไม่ว่าอะไรกันนะครับ