
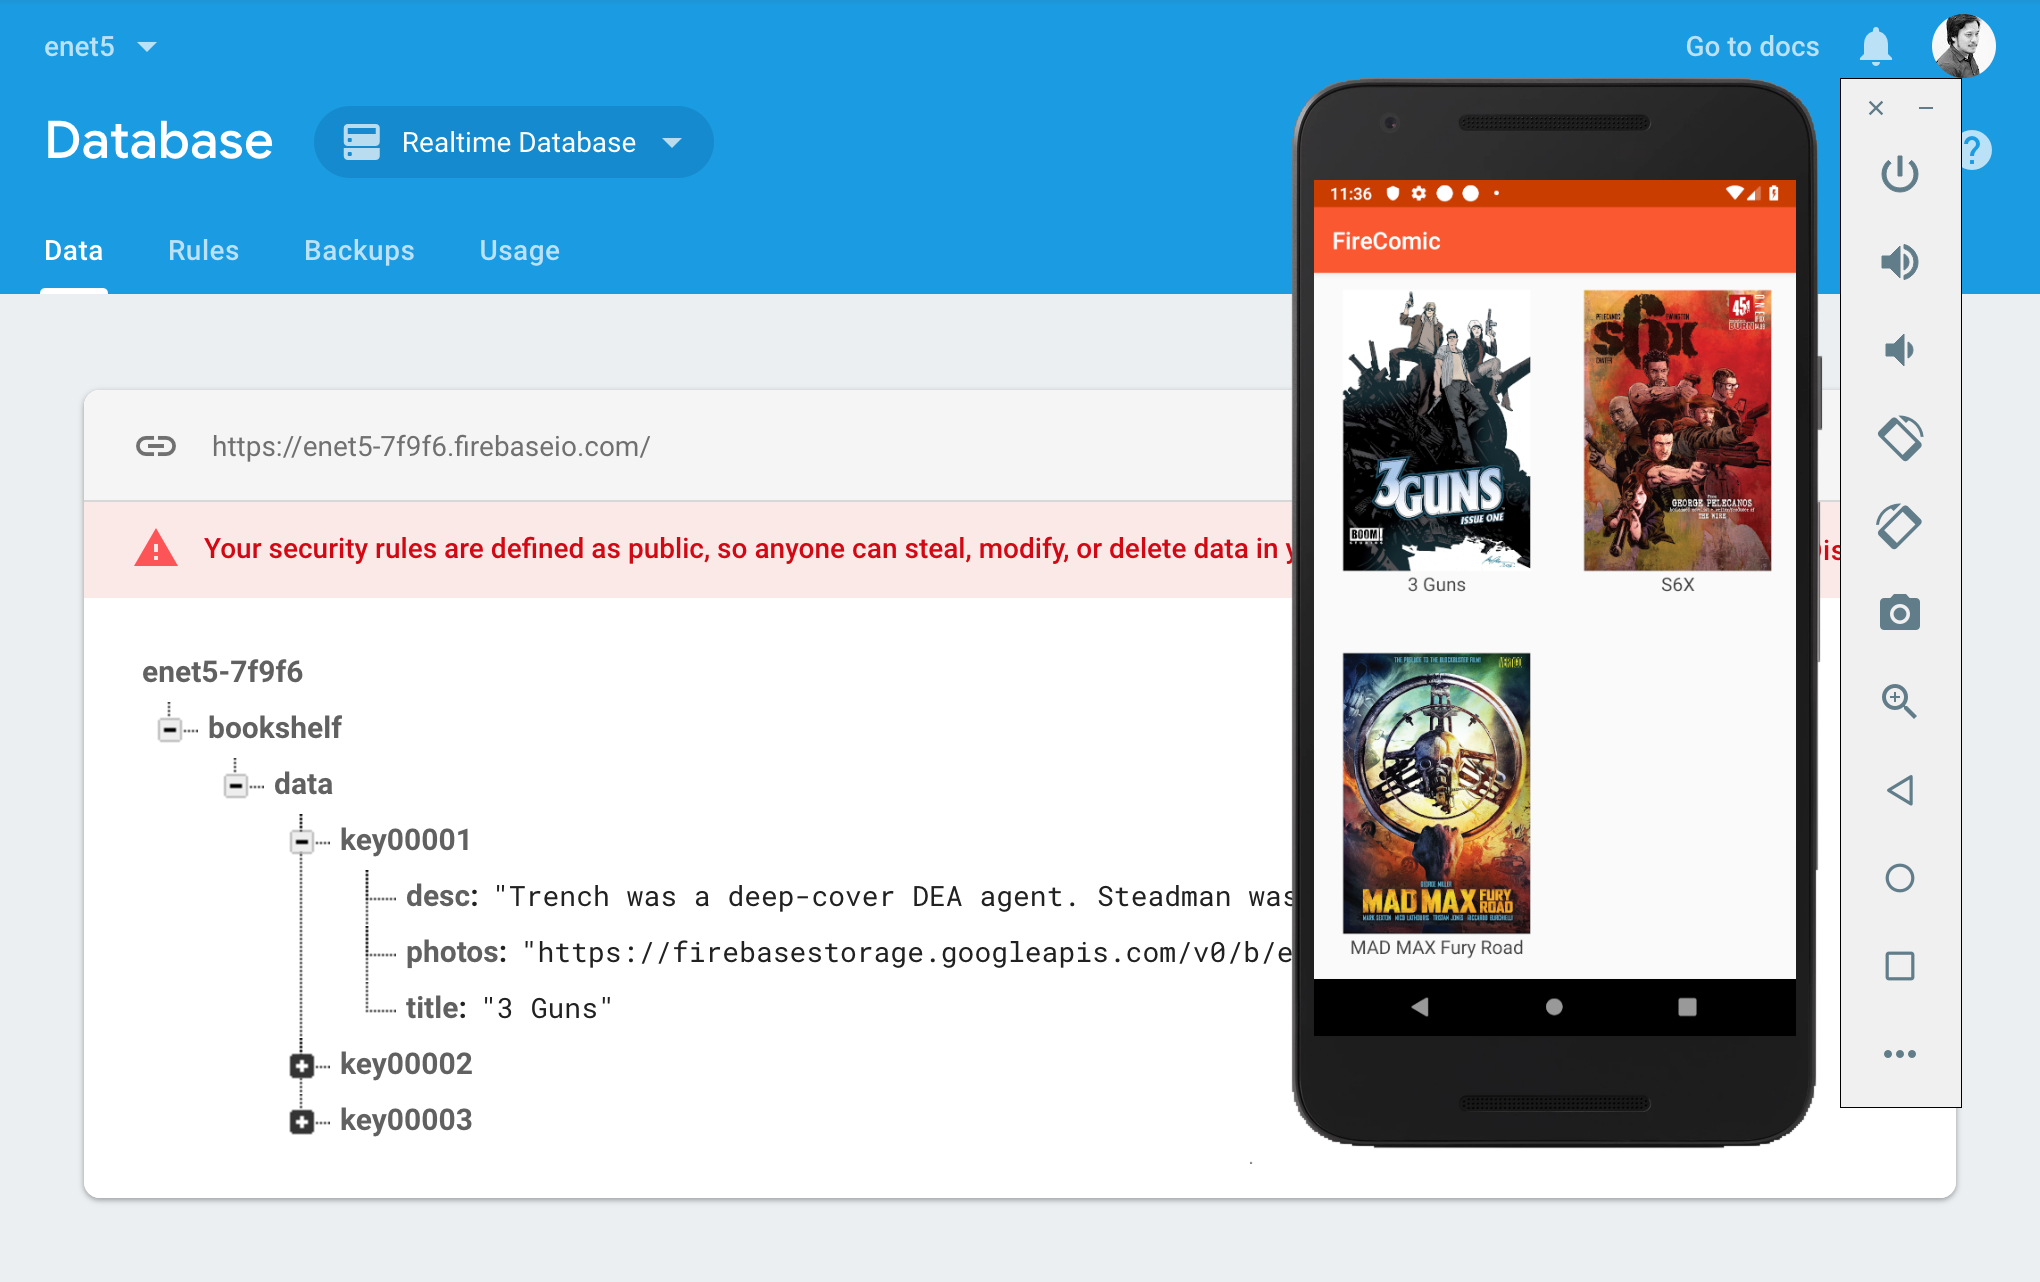
บทเรียนเบื้องต้นสำหรับสร้าง Comic Book Shelf ด้วย Firebase และ Android Studio เพื่อสร้างแอปพลิเคชันอ่านหนังสือ PDF อย่างง่ายและจัดการด้วย Firebase
ศึกษาบทเรียนก่อนหน้านี้เกี่ยวกับการสร้าง Adapter, Model และ Picasso ไปจนถึงการเชื่อมต่อ Firebase ที่บทความ:
- เขียนแอพฯ ควบคุม Arduino ด้วย Android ผ่าน Firebase RealTime Database
- เขียนแอพ Android ดึง JSON มาเล่นกับ RecyclerView และ Picasso
คราวนี้ให้เราเตรียมไฟล์ PDF ที่เป็น Ebook อัพขึ้นผ่าน Storage ของ Firebase (ปล. ระบบนี้ไม่ได้ทำระบบ DRM:Data Right Management นะแค่ทำแอปพลิเคชันอ่าน Pdf ง่ายๆ ที่เป็นรูปแบบ Book Shelf หรือตู้หนังสือแค่นั้น)
เมื่ออัพโหลด PDF ไปบน Firebase Storage แล้วให้จัดการสร้าง Sample Real-Time Database ขึ้นมาให้ได้โครงสร้างตามภาพนี้:
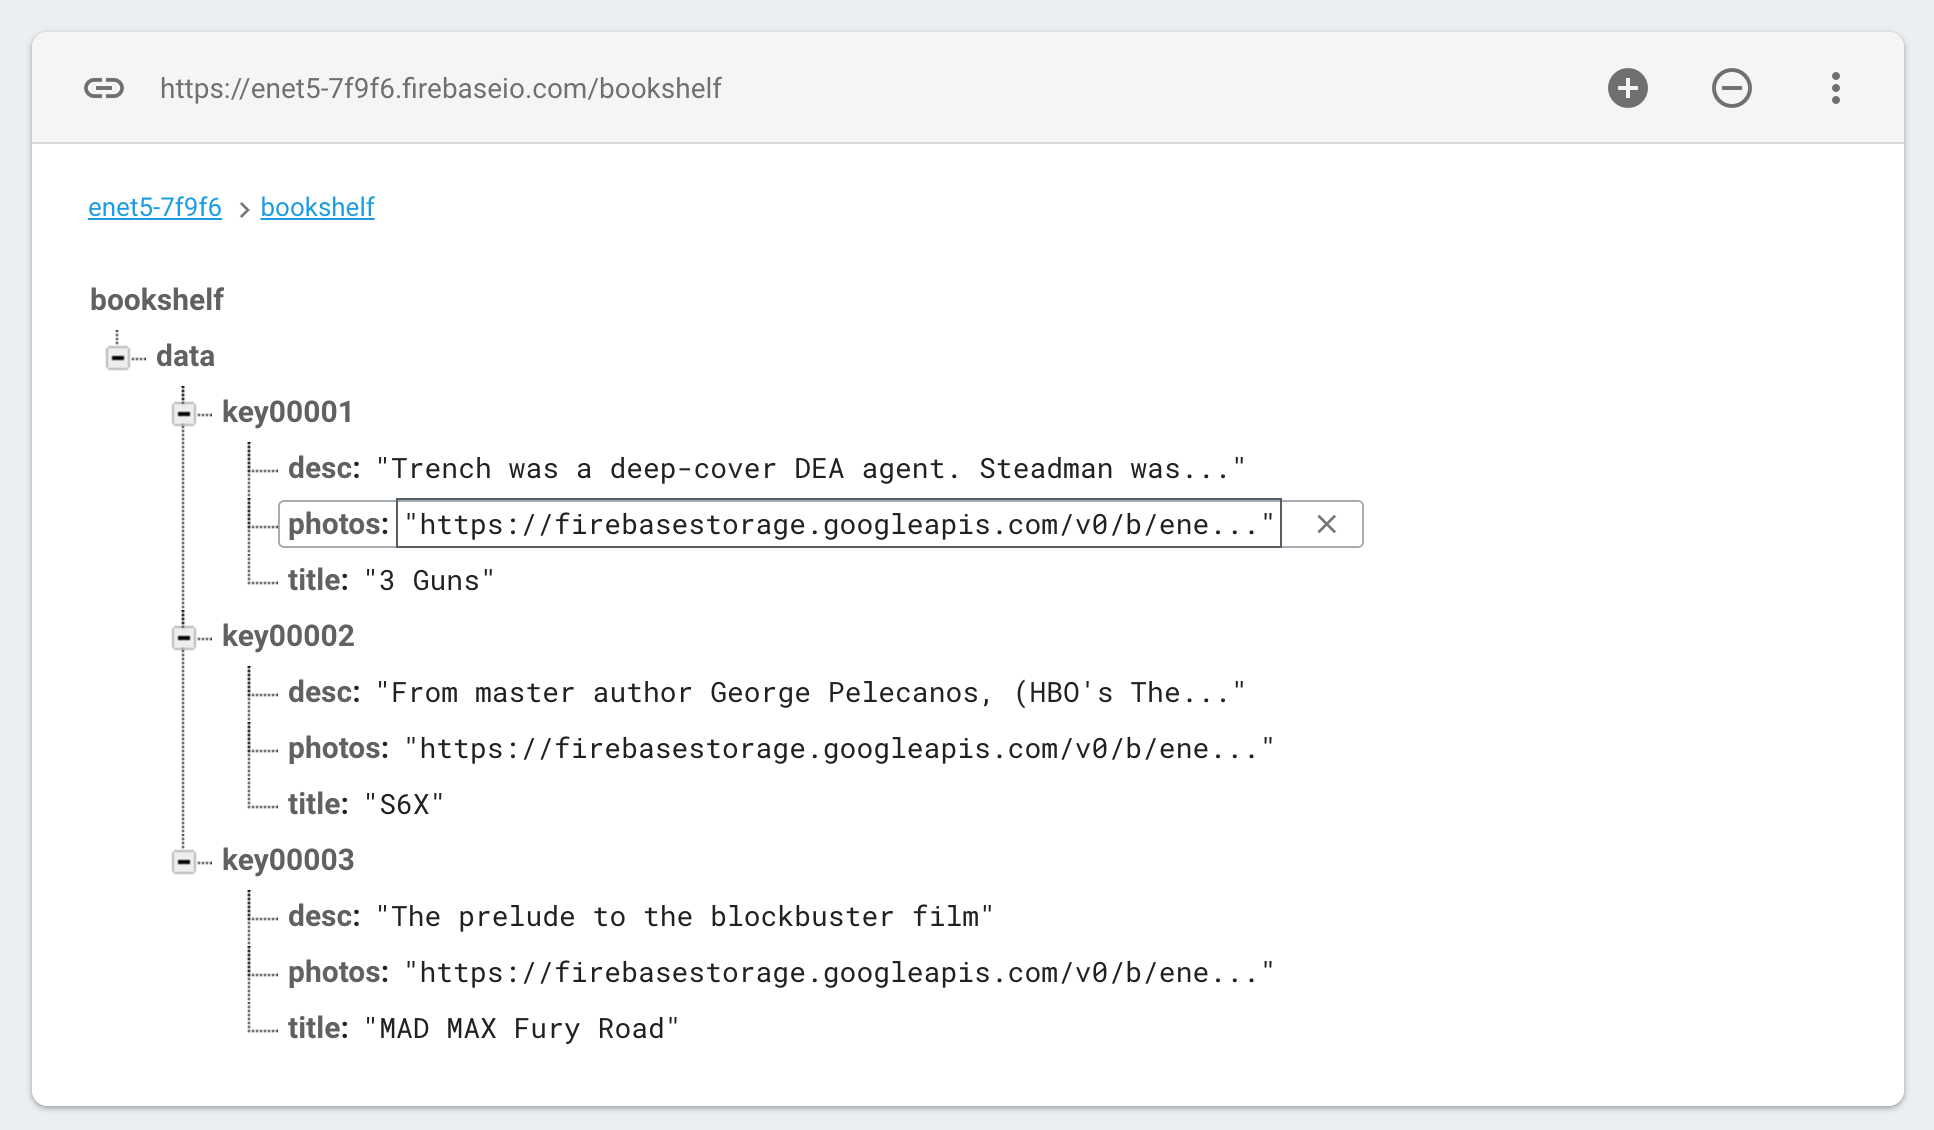
หรือดู Preview แบบ JSON ให้เป็นแบบ Link นี้: https://enet5-7f9f6.firebaseio.com/bookshelf.json
บทเรียนนี้ให้ปรับ Rule แบบมักง่ายไปก่อนเพื่อให้ใครก็แก้ไข เขียนได้ให้เป็น
{
  "rules": {
    ".read": true,
    ".write": true
  }
}
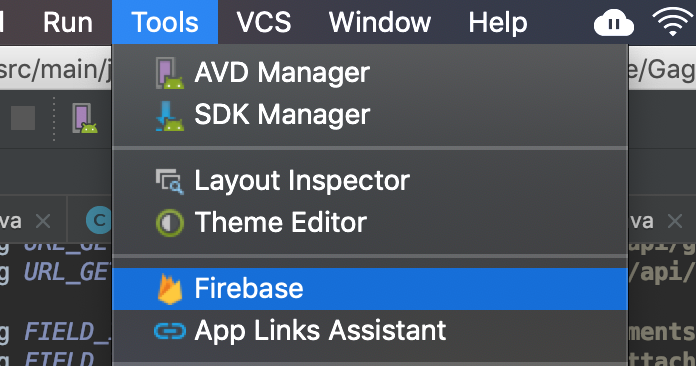
ต่อมาให้ทำการสร้างแอพพลิเคชันขึ้นมาใหม่เป็น Empty Activity ทำการเชื่อมต่อ Firebase โดยไปที่ เมนู: Tools-> Firebase
หลังจากนั้นเลือก Realtime Database
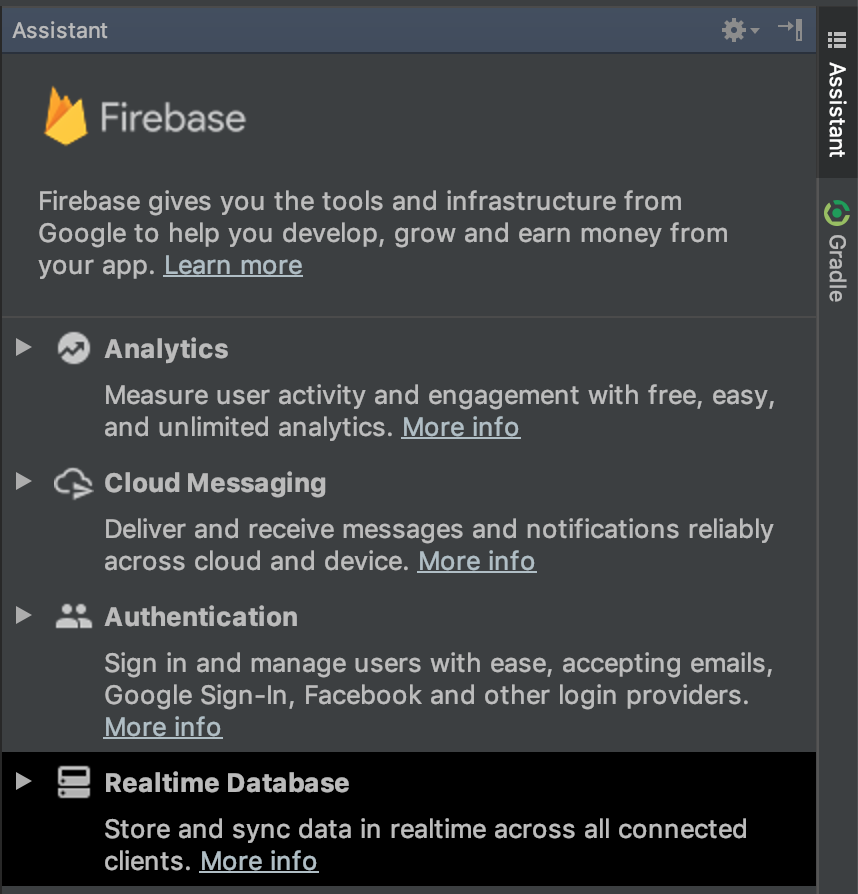
ทำตามขั้นตอนที่ 1 และ ขั้นตอนที่ 2 โดยมันจะมีการบังคับให้เราเข้าระบบ Google บัญชีที่เราใช้ในการทำ Firebase อยู่อีกทั้งขั้นตอนนี้จะมีการ Sync ตัว Gradle ให้ด้วยเรียบร้อย:
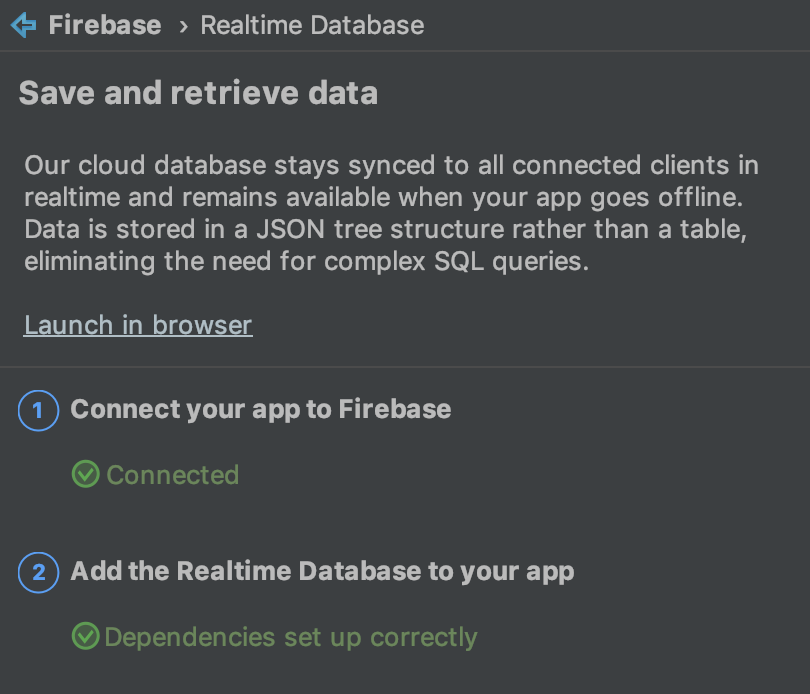
เมื่อเสร็จแล้วซ่อนหน้าต่าง Assistance นี้ออกไป
ขั้นตอนต่อมาให้เราเตรียมพร้อมการสร้างโปรเจ็คของเราให้ประกาศตัวแปรต่อไปนี้ที่คลาส MainActivity.java
private static final String TAG = "FireComic";
private List<DataModel> response_data;
private DataAdapter dataAdapter;
private RecyclerView mRecyclerView;

private FirebaseDatabase firebaseDatabase;
private DatabaseReference databaseReference;
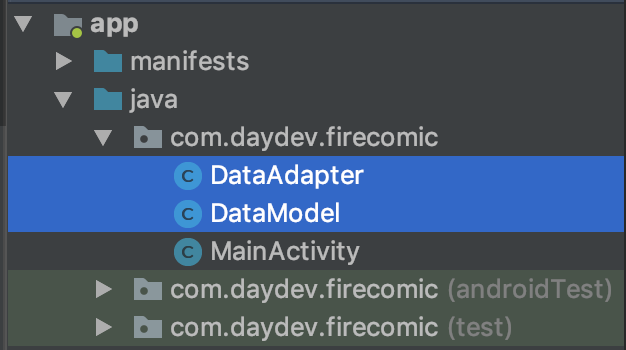
มันจะขึ้นตัก Error สีแดงที่ DataAdapter นำเมาส์ไปวางไว้แล้วกด Alt+Enter เพื่อเพิ่มคลาส DataAdapter.java ขึ้นมา เช่นกันมันจะขึ้นที่ DataModel ให้ทำขั้นตอนเดียวกันเพื่อสร้าง Class ใหม่ชื่อ DataModel.java ด้วย ดังนั้นโปรเจ็คนี้เราจะได้ ไฟล์ Class ทั้งหมด:
ไปที่ Layout ให้เราสร้าง RecycleView ขึ้นมาที่ไฟล์ activity_main.xml ดังนี้:
<?xml version="1.0" encoding="utf-8"?>
<LinearLayout xmlns:android="http://schemas.android.com/apk/res/android"
    xmlns:app="http://schemas.android.com/apk/res-auto"
    xmlns:tools="http://schemas.android.com/tools"
    android:layout_width="match_parent"
    android:layout_height="match_parent"
    android:gravity="top"
    android:orientation="vertical"
    tools:context=".MainActivity">

    <android.support.v7.widget.RecyclerView
        android:id="@+id/recyclerView"
        android:layout_width="match_parent"
        android:layout_height="match_parent"
        android:layout_centerInParent="true"
        app:layout_constraintBottom_toBottomOf="parent"
        app:layout_constraintEnd_toEndOf="parent"
        app:layout_constraintHorizontal_bias="0.0"
        app:layout_constraintStart_toStartOf="parent"
        app:layout_constraintVertical_bias="1.0">


    </android.support.v7.widget.RecyclerView>
</LinearLayout>
เปิด Class ที่ชื่อ DataAdapter.java ขึ้นมาเขียนคำสั่งต่อไปนี้:
import android.support.annotation.NonNull;
import android.support.v7.widget.RecyclerView;
import android.view.LayoutInflater;
import android.view.View;
import android.view.ViewGroup;
import android.widget.ImageView;
import android.widget.TextView;
import com.squareup.picasso.Picasso;

import java.util.List;

public class DataAdapter extends RecyclerView.Adapter<DataAdapter.DataViewHolder> {
    private List<DataModel> dataModelList;
    public DataAdapter(List<DataModel> result) {
        this.dataModelList = result;
    }

    @Override
    public DataAdapter.DataViewHolder onCreateViewHolder(ViewGroup viewGroup, int i) {
        return new DataViewHolder(LayoutInflater.from(viewGroup.getContext()).inflate(R.layout.content_read,viewGroup,false));
    }

    @Override
    public void onBindViewHolder(final DataViewHolder dataViewHolder, final int i) {
        DataModel dataModel = dataModelList.get(i);
        dataViewHolder.textTitle.setText(dataModel.title);

        Picasso.get().load(dataModel.photos)
                .error(R.mipmap.ic_launcher)
                .placeholder(R.mipmap.ic_launcher)
                .into(dataViewHolder.imageView);
    }

    @Override
    public int getItemCount() {
        return dataModelList.size();
    }

    public class DataViewHolder extends RecyclerView.ViewHolder {
        TextView textTitle;
        ImageView imageView;
        public DataViewHolder(View itemView) {
            super(itemView);
            textTitle = itemView.findViewById(R.id.title);
            imageView = itemView.findViewById(R.id.thumbnail);
        }
    }
}
โดยมันจะบังคับให้เราสร้าง Layout ใหม่ขึ้นมาชื่อว่า content_read.xml ให้เราสร้างขึ้นมาหลังจากนั้นให้แก้ไข XML ของ content_read.xml เป็นดังนี้:
<?xml version="1.0" encoding="utf-8"?>
<LinearLayout xmlns:android="http://schemas.android.com/apk/res/android"
    android:layout_width="170dp"
    android:layout_height="300dp"
    android:layout_marginLeft="20dp"
    android:layout_marginTop="10dp"
    android:orientation="horizontal"
    android:padding="5dp">

    <LinearLayout
        android:layout_width="match_parent"
        android:layout_height="match_parent"
        android:orientation="vertical">

        <ImageView
            android:id="@+id/thumbnail"
            android:layout_width="match_parent"
            android:layout_height="240dp"
            android:scaleType="centerCrop" />

        <TextView
            android:id="@+id/title"
            android:layout_width="match_parent"
            android:layout_height="wrap_content"
            android:layout_weight="1"
            android:textAlignment="center"
            android:textColor="@color/cardview_dark_background"
            android:textSize="16sp" />

    </LinearLayout>

</LinearLayout>
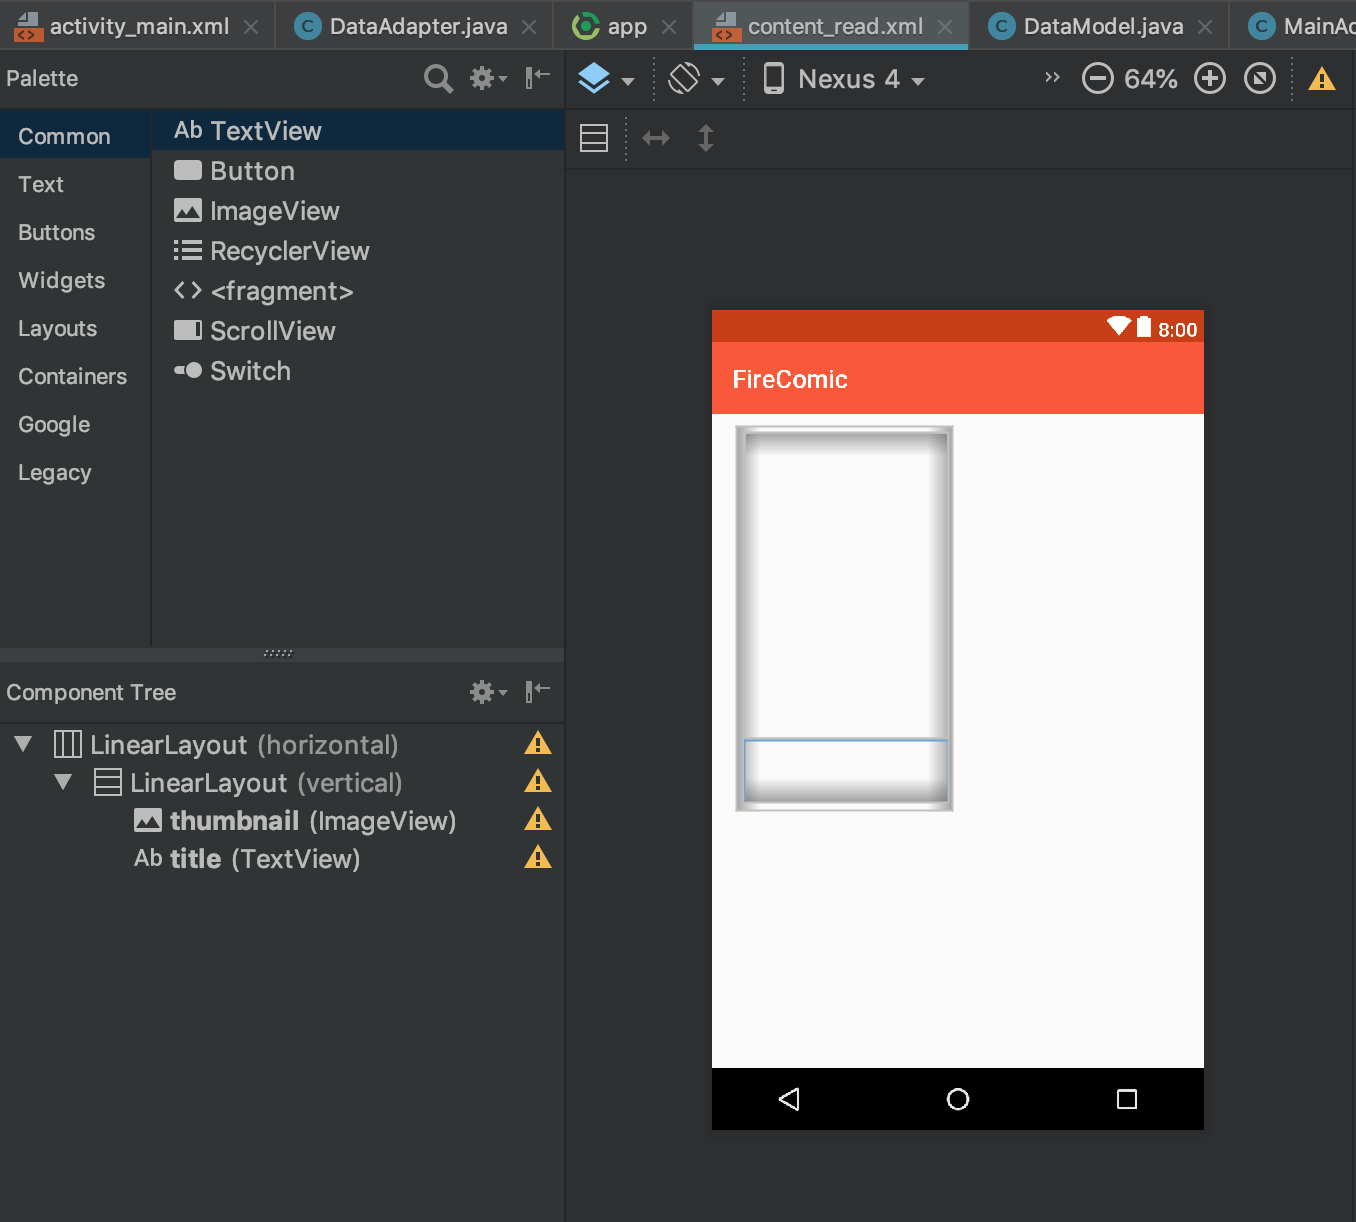
ถ้าหากไม่เกิดข้อผิดพลาดใดๆ ให้ไปที่ DataModel.java แก้ไขไฟล์นี้เป็น:
import java.util.HashMap;
import java.util.Map;

public class DataModel {
    String title,desc,photos,key;
    public DataModel(){ }

    public DataModel(String title, String desc, String photos, String key) {
        this.title = title;
        this.desc = desc;
        this.photos = photos;
        this.key = key;
    }

    public Map<String, Object> toMap(){
        HashMap<String, Object> result = new HashMap<>();
        result.put("title",title);
        result.put("content",desc);
        result.put("photos",photos);
        result.put("key",key);
        return result;
    }
}
เพื่อทำการ Map ตัว Key ที่เราใช้ใน Firebase ให้ตรงกับหน้าจอที่จะปรากฏขึ้นในระบบ เมื่อเสร็จขั้นตอนนี้แล้วให้เราไปที่ MainActivity.java เพิ่มคำสั่งต่อไปนี้ในOnCreate() เมธอด:
firebaseDatabase = FirebaseDatabase.getInstance();
databaseReference = firebaseDatabase.getReference("bookshelf/data");
response_data = new ArrayList<>();
mRecyclerView = (RecyclerView) findViewById(R.id.recyclerView);
int numberOfColumns = 2;
mRecyclerView.setLayoutManager(new GridLayoutManager(this, numberOfColumns));
dataAdapter = new DataAdapter(response_data);
mRecyclerView.setAdapter(dataAdapter);

bindingData();
พิจารณาว่า
mRecyclerView = (RecyclerView) findViewById(R.id.recyclerView);
int numberOfColumns = 2;
mRecyclerView.setLayoutManager(new GridLayoutManager(this, numberOfColumns));
คือการแสดงผลของ RecyclerView ปกติของเราให้เป็น Vertical แนวดิ่งแต่แบ่ง คอลัมน์ของแถวเป็น 2 คอลัมน์นั่นเอง
เพิ่มเมธอด bindingData() ใหม่ใน MainActivity.java
private void bindingData() {
        databaseReference.addChildEventListener(new ChildEventListener() {
            @Override
            public void onChildAdded(DataSnapshot dataSnapshot, String s) {
                response_data.add(dataSnapshot.getValue(DataModel.class));
                dataAdapter.notifyDataSetChanged();

            }

            @Override
            public void onChildChanged(DataSnapshot dataSnapshot, String s) {

            }

            @Override
            public void onChildRemoved(DataSnapshot dataSnapshot) {

            }

            @Override
            public void onChildMoved(DataSnapshot dataSnapshot, String s) {

            }

            @Override
            public void onCancelled(DatabaseError databaseError) {

            }
        });
    }
ทำฟังกืชันการนับจำนวน Item ของ Firebase เพิ่มเข้าไป ต่อท้ายก่อนปิดคลาส:
private int getIemIndex(DataModel dataModel){
        int index = -1;
        for(int i =0; i < response_data.size(); i++){
            if(response_data.get(i).key.equals(dataModel.key)){
                index = i;
                break;
            }
        }
        return  index;
    }
ทดสอบการทำงานโดย run ตัว Android Studio ขึ้นมาถ้าไม่มีข้อผิดพลาดจะเป็นดังนี้:
บทเรียนต่อไปเราจะทำหน้าอ่านไฟล์ PDF เมื่อกด ที่หน้าปกของ PDF แต่ละตัว โดยเราต้องแก้ไข PDF URL เข้าไปใน Firebase ด้วยเช่นกัน
บทเรียนตอนที่ 2: Android Studio กับการทำระบบ Bookshelf ร่วมกับ Firebase เบื้องต้น ตอนที่ 2
สำหรับคนที่ไม่อยากโหลด PDF แต่มีภาพ Image หลายๆ ภาพให้ไปที่บทเรียนที่ 3 เลยข้ามบทที่ 2 ไป
บทเรียนตอนที่ 3: Android Studio กับการทำระบบ Bookshelf ร่วมกับ Firebase เบื้องต้น ตอนที่ 3



3 Comments