
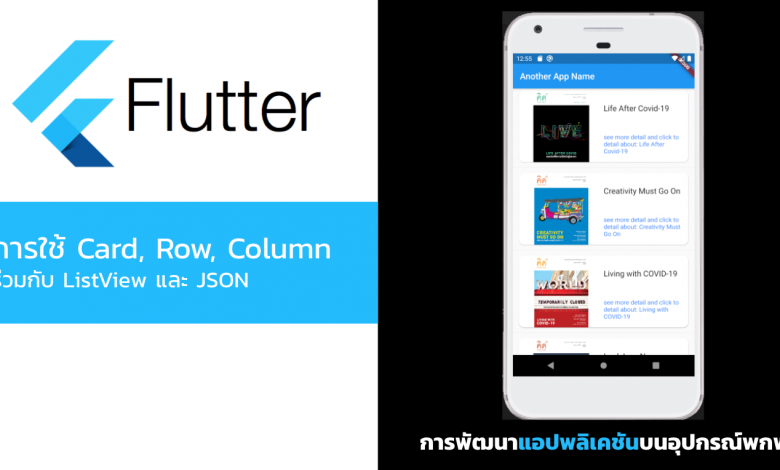
บทเรียนซีรีย์ Rapid เป็นไว ทำได้ เข้าใจ กับ Flutter กับตัวอย่างหลังจากดึงข้อมูล JSON มาแสดงใน ListView แล้วมาตกแต่ง Row ด้วย Card กันหน่อย
ตัวอย่างที่จำเป็นต้องศึกษาก่อนหน้า
- เริ่มต้นการพัฒนาแอพฯ Cross Platform ด้วย Flutter ของ Google การติดตั้ง
- Rapid Series: Flutter สร้างแอปพลิเคชันรายการ List Widget ด้วย Web Services JSON
จากบทเรียนที่แล้วเราจะได้หน้าจอแอปพลิเคชันของเราเป็นดังนี้:
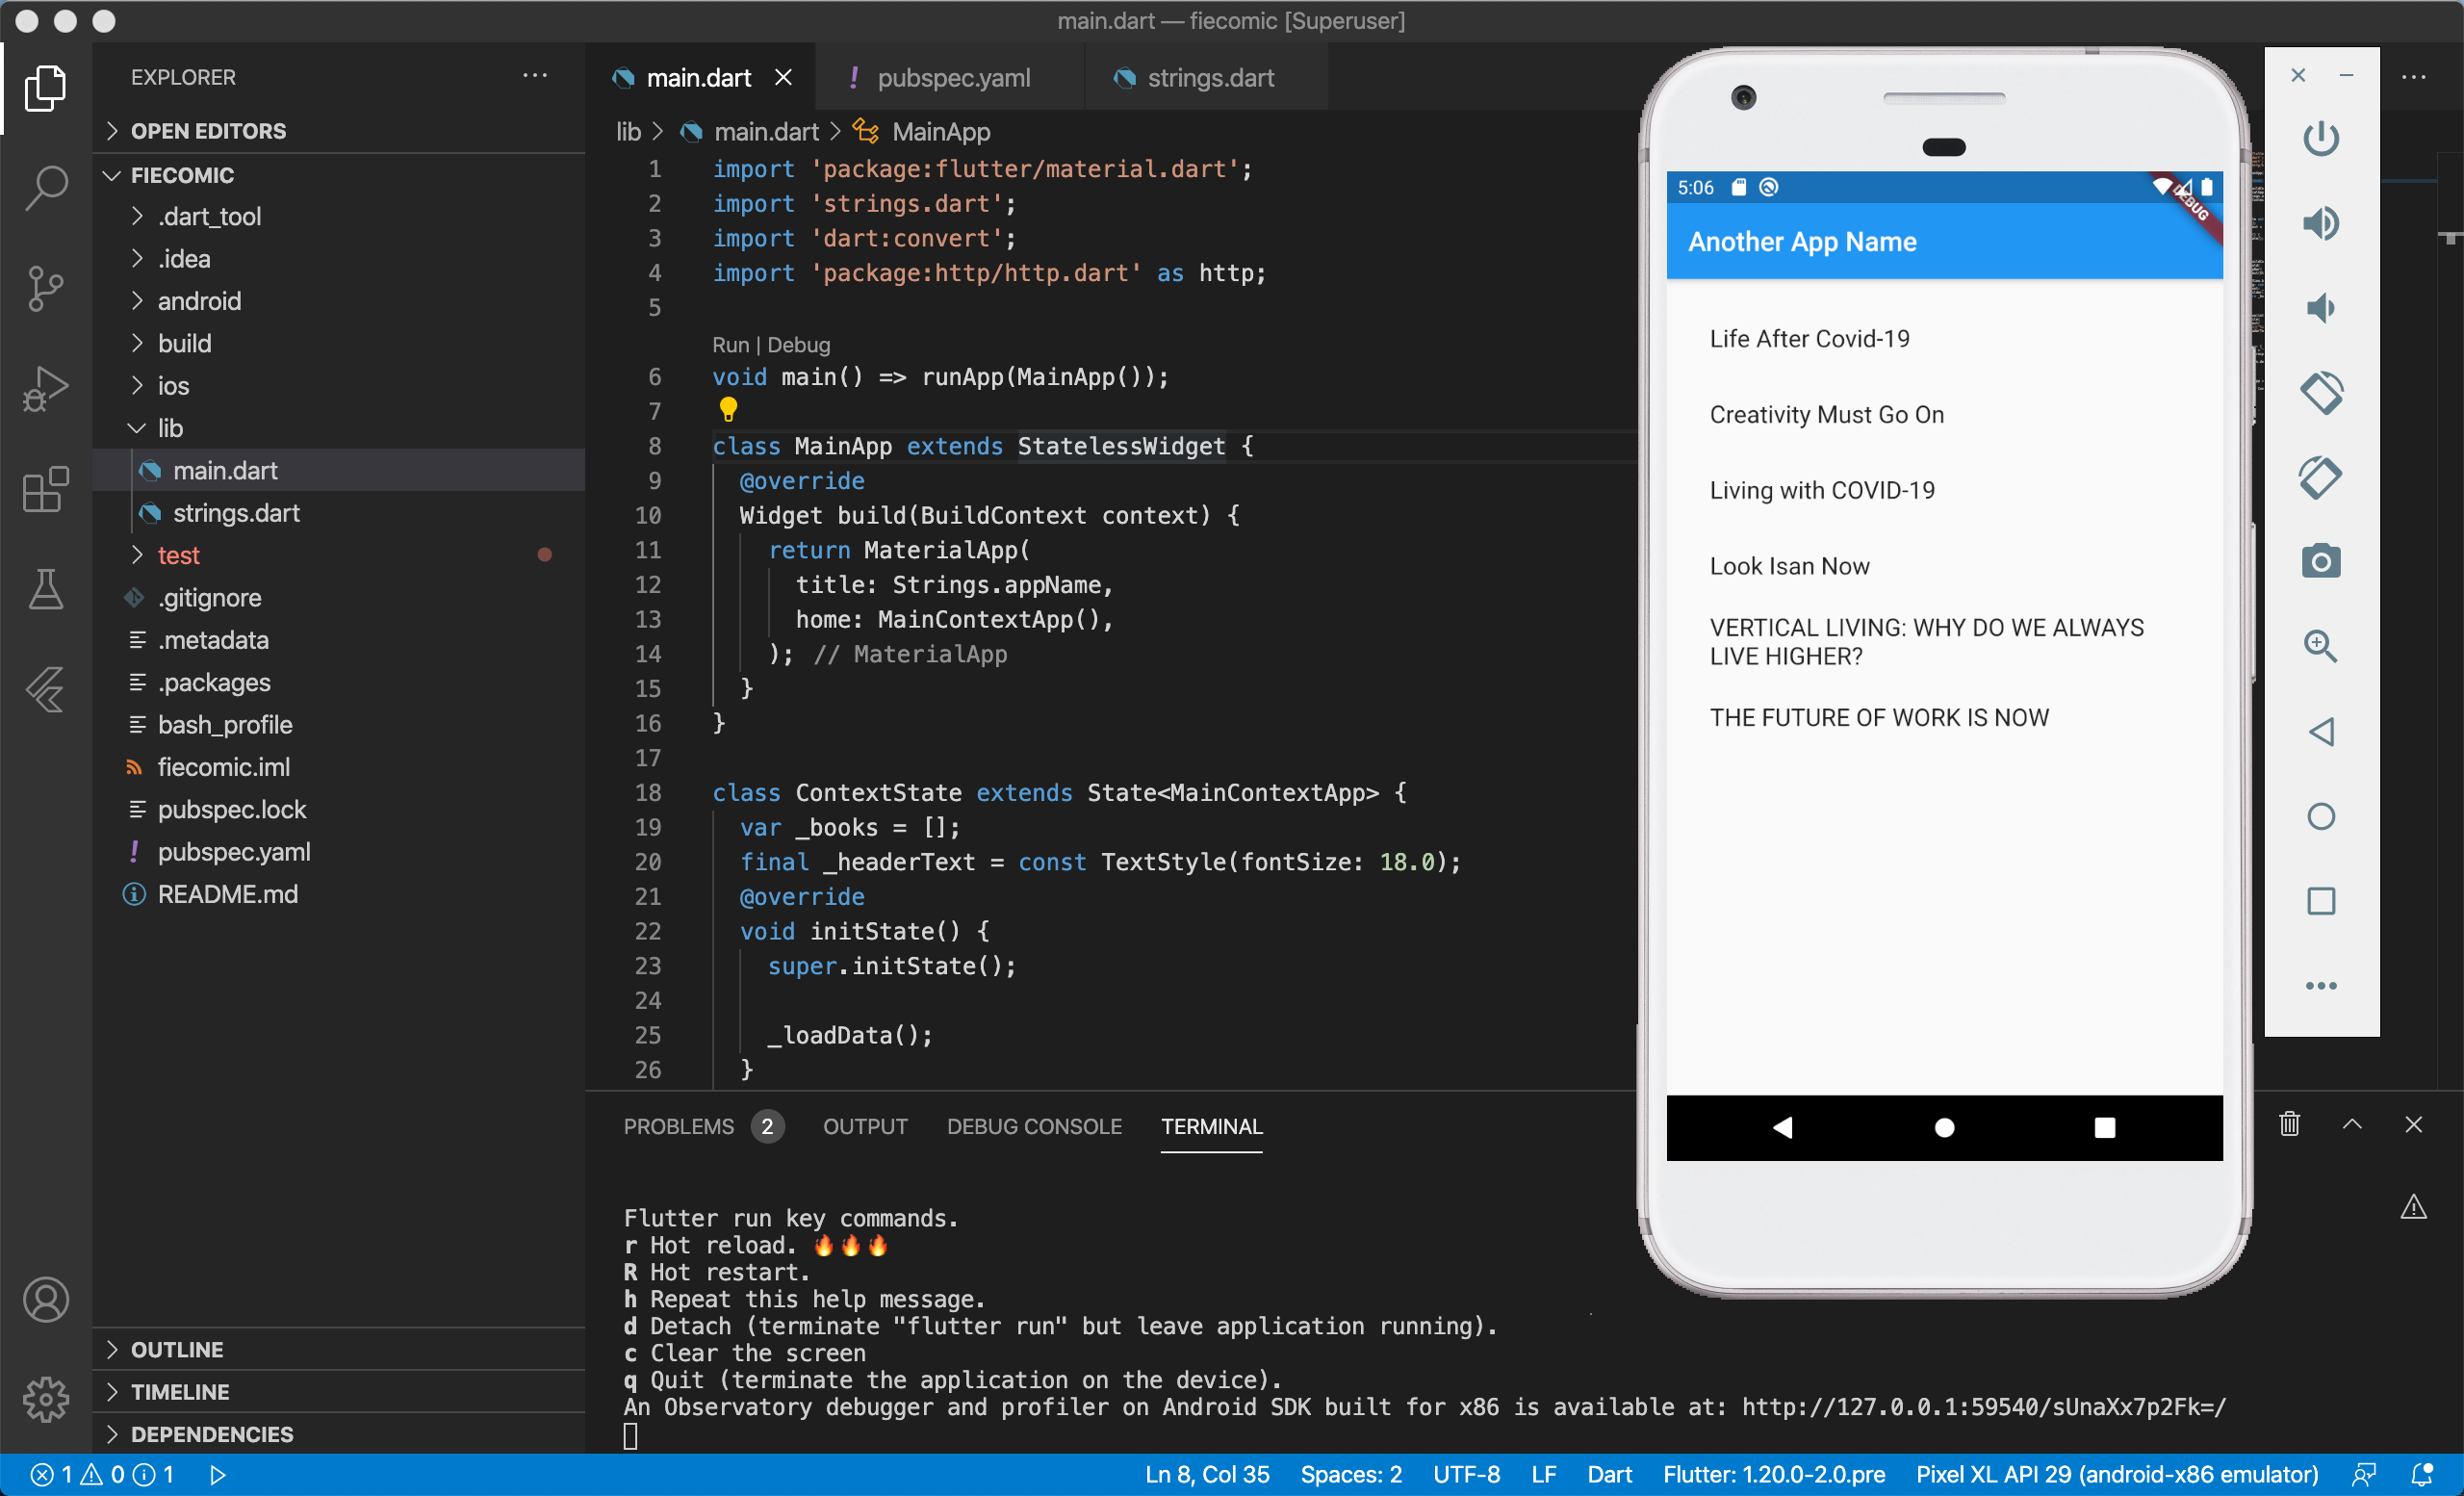
บทเรียนนี้เราจะมา Decoration กันสักหน่อยในเรื่องของความสวยงามซึ่งเราต้องจัด Padding และ Margin กันหน่อยมาดูกันว่าเราจะเริ่มต้นยังไง
ให้เราสร้าง File ใหม่ขึ้นมาใน folder “lib” ตั้งชื่อว่า items.dart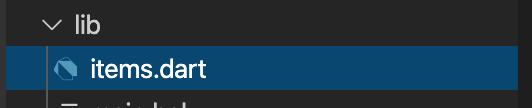
ใน items.dart เราจะสร้างคลาสที่ชื่อว่า Items() ขึ้นมา โดยรับค่าตัวแปรจาก JSON คือ title และ thumbnail ให้ทำการประกาศคลาส String
class Items {
  final String title;
  final String thumbnail;
  Items(this.title, this.thumbnail) {
    if (title == null) {
      throw ArgumentError("Title can't not be null"
          "Received: '$title'");
    }
    if (thumbnail == null) {
      throw ArgumentError("Thumbnail of Books can't be null. "
          "Received: '$thumbnail'");
    }
  }
}
เป็น คลาสในการทำ Custom Type ง่ายๆ เวลารับค่าก็แค่เรียก Items(title,thumbnail) ก็จบและเช็คค่าว่ามันไม่ใช่ค่าว่างก็เท่านั้น
กลับไปที่ main.dart ให้เพิ่ม Header เข้าไปดังนี้:
import 'items.dart';
เพื่อเรียกใช้งานคลาสของ Items ที่อยู่ในไฟล์ items.dart ได้
ไปที่ ContextState() ใน main.dart ให้เราแก้ไขตัวแปรจากเดิมคือ:
var _books = [];
แก้ไขเป็น:
var _items = <Items>[];
เพิ่ม const ของ style ตัวอักษรให้เป็นสีฟ้าเล็กน้อยดังนี้:
final _blueFont = const TextStyle(color: Colors.blueAccent);
แก้ไขส่วนของ Widget ListView ใหม่จากเดิมคือ:
@override
  Widget build(BuildContext context) {
    return Scaffold(
      appBar: AppBar(
        title: Text(Strings.appName),
      ),
      body: ListView.builder(
          padding: const EdgeInsets.all(16.0),
          itemCount: _books.length,
          itemBuilder: (BuildContext context, int position) {
            return _buildRow(position);
          }),
    );
  }
แก้ไขใหม่เป็น:
@override
  Widget build(BuildContext context) {
    return Scaffold(
      appBar: AppBar(
        title: Text(Strings.appName),
      ),
      body: ListView.builder(
          itemCount: _items.length * 2,
          itemBuilder: (BuildContext context, int position) {
            if (position.isOdd) return Divider();
            final index = position ~/ 2;
            return _buildRow(index);
          }),
    );
  }
นั่นคือการทำ Divider ของแถวให้มีช่องว่างแก๊บระยะของแต่ละ Item ถูกคั่นด้วย Row เปล่าๆ ที่ไม่สูงมากระหว่างรายการมาคั่นไว้พร้อมเส้นของแถว
แก้ไข setState() ใหม่เป็นดังนี้:
setState(() {
      final itemsJSON = json.decode(response.body);

      for (var data in itemsJSON) {
        final member = Items(data["title"], data["thumbnail"]);
        _items.add(member);
      }
});
นั่นคือเราจะเข้าระหัส URL web Services เก็บที่ itemsJSON หลังจากนั้นไป foreach เอาค่า value ตาม key มาเก็บใน data[“key”] ต่างๆ ส่งไปที่ฟังก์ชันในคลาส Items(title,thumbnail) เก็บลงตัวแปร member สมาชิกข้อมูล แล้วยัด array ค่าลงไปในตัวแปร _items ที่เราสร้างไว้
แก้ไขฟังก์ชันเมธอดของ _buildRow() ใหม่ทั้งหมดเลย โดยเราจะเริ่มที่การสร้าง Row มาคั่นตามด้วย Column ของ Row นั่นคือใน 1 แถวจะถูกแบ่งคอลัมน์เป็น 2 คอลัมน์ฝั่งซ้ายคือหน้าปกหนังสือที่ดึงจาก thumbnail ฝั่งขวาจาก title ซึ่งการจัด Layout อาจจะวุ่นวายและยาวเล็กน้อย
return Container(
      margin: EdgeInsets.symmetric(horizontal: 0.0, vertical: 0.1),
      padding: EdgeInsets.symmetric(horizontal: 5.0, vertical: 0.15),
      height: MediaQuery.of(context).size.height * 0.25,
      child: Card(
          color: Colors.white,
          shape: RoundedRectangleBorder(
            borderRadius: BorderRadius.circular(12.0),
          ),
          child: Row(
            children: <Widget>[
              Expanded(
                child: FittedBox(
                    fit: BoxFit.contain, // otherwise the logo will be tiny
                    child: Image.network(_items[i].thumbnail)),
              ),
              Expanded(
                  child: Column(children: <Widget>[
                Expanded(
                    child: Align(
                  alignment: Alignment.centerLeft,
                  child: Text("${_items[i].title}", style: _biggerFont),
                )),
                Expanded(
                    child: Align(
                  alignment: Alignment.centerLeft,
                  child: Text(
                      "see more detail and click to detail about: ${_items[i].title}",
                      style: _blueFont),
                ))
              ]))
            ],
          )),
    );
ลำดับของ Hierarchy เป็นตามรูปนี้:
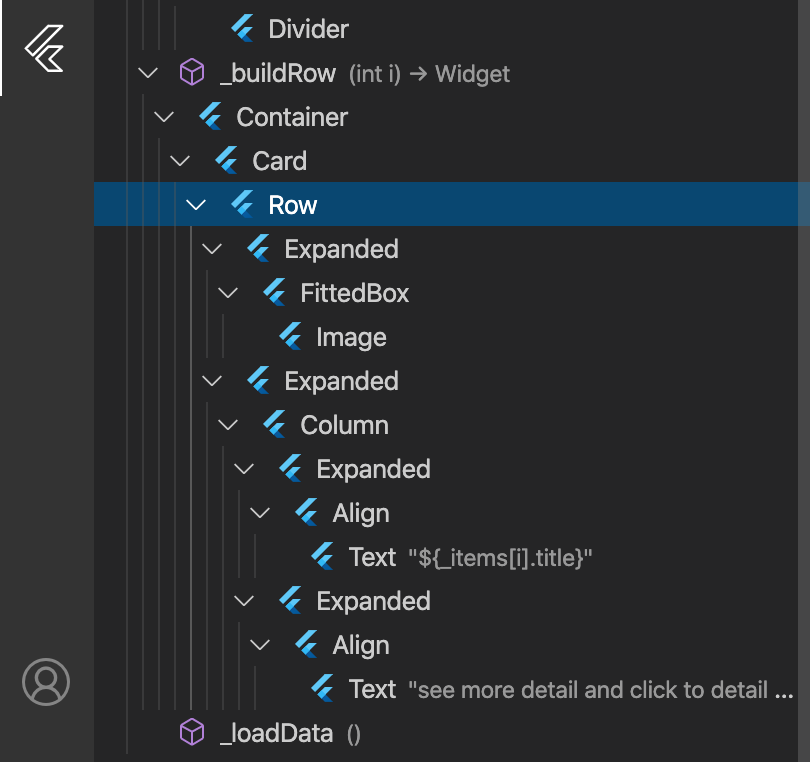
ตรวจและแกะกันเอาเองนะครับ ผมแค่ใช้ Container คลุม แล้วสร้าง Card ขอบมนๆ มาระยะ padding ดีๆ ภายใน Card มี Row ที่แบ่ง Expanded (คอลัมน์ซ้าย) ด้วย Image และ ขวาด้วย Columns (แบ่งแถวของฝั่งขวา) เป็น 2 แถวด้วย Text สองตัว ตาม Code
ซึ่งถ้าสังเกตผมจะเรียก _items[i].title แทนการเรียกแบบเก่า ส่วนรูปภาพใช้ Image.Network มารับค่าแทน NetworkImage:
ดังนั้นภาพรวม Source code ของ main.dart เป็นดังนี้:
import 'package:flutter/material.dart';
import 'strings.dart';
import 'items.dart';
import 'dart:convert';
import 'package:http/http.dart' as http;

void main() => runApp(MainApp());

class MainApp extends StatelessWidget {
  @override
  Widget build(BuildContext context) {
    return MaterialApp(
      title: Strings.appName,
      home: MainContextApp(),
    );
  }
}

class ContextState extends State<MainContextApp> {
  var _items = <Items>[];

  final _biggerFont = const TextStyle(fontSize: 18.0);
  final _blueFont = const TextStyle(color: Colors.blueAccent);

  @override
  void initState() {
    super.initState();

    _loadData();
  }

  @override
  Widget build(BuildContext context) {
    return Scaffold(
      appBar: AppBar(
        title: Text(Strings.appName),
      ),
      body: ListView.builder(
          itemCount: _items.length * 2,
          itemBuilder: (BuildContext context, int position) {
            if (position.isOdd) return Divider();

            final index = position ~/ 2;

            return _buildRow(index);
          }),
    );
  }

  Widget _buildRow(int i) {
    return Container(
      margin: EdgeInsets.symmetric(horizontal: 0.0, vertical: 0.1),
      padding: EdgeInsets.symmetric(horizontal: 5.0, vertical: 0.15),
      height: MediaQuery.of(context).size.height * 0.25,
      child: Card(
          color: Colors.white,
          shape: RoundedRectangleBorder(
            borderRadius: BorderRadius.circular(12.0),
          ),
          child: Row(
            children: <Widget>[
              Expanded(
                child: FittedBox(
                    fit: BoxFit.contain, // otherwise the logo will be tiny
                    child: Image.network(_items[i].thumbnail)),
              ),
              Expanded(
                  child: Column(children: <Widget>[
                Expanded(
                    child: Align(
                  alignment: Alignment.centerLeft,
                  child: Text("${_items[i].title}", style: _biggerFont),
                )),
                Expanded(
                    child: Align(
                  alignment: Alignment.centerLeft,
                  child: Text(
                      "see more detail and click to detail about: ${_items[i].title}",
                      style: _blueFont),
                ))
              ]))
            ],
          )),
    );
  }

  _loadData() async {
    String dataURL = "https://enet5-7f9f6.firebaseio.com/Books.json";
    http.Response response = await http.get(dataURL);
    setState(() {
      final itemsJSON = json.decode(response.body);

      for (var data in itemsJSON) {
        final member = Items(data["title"], data["thumbnail"]);
        _items.add(member);
      }
    });
  }
}

class MainContextApp extends StatefulWidget {
  @override
  createState() => ContextState();
}
รันคำสั่ง
$ flutter run
เราจะได้ผลลัพธ์ตามภาพ
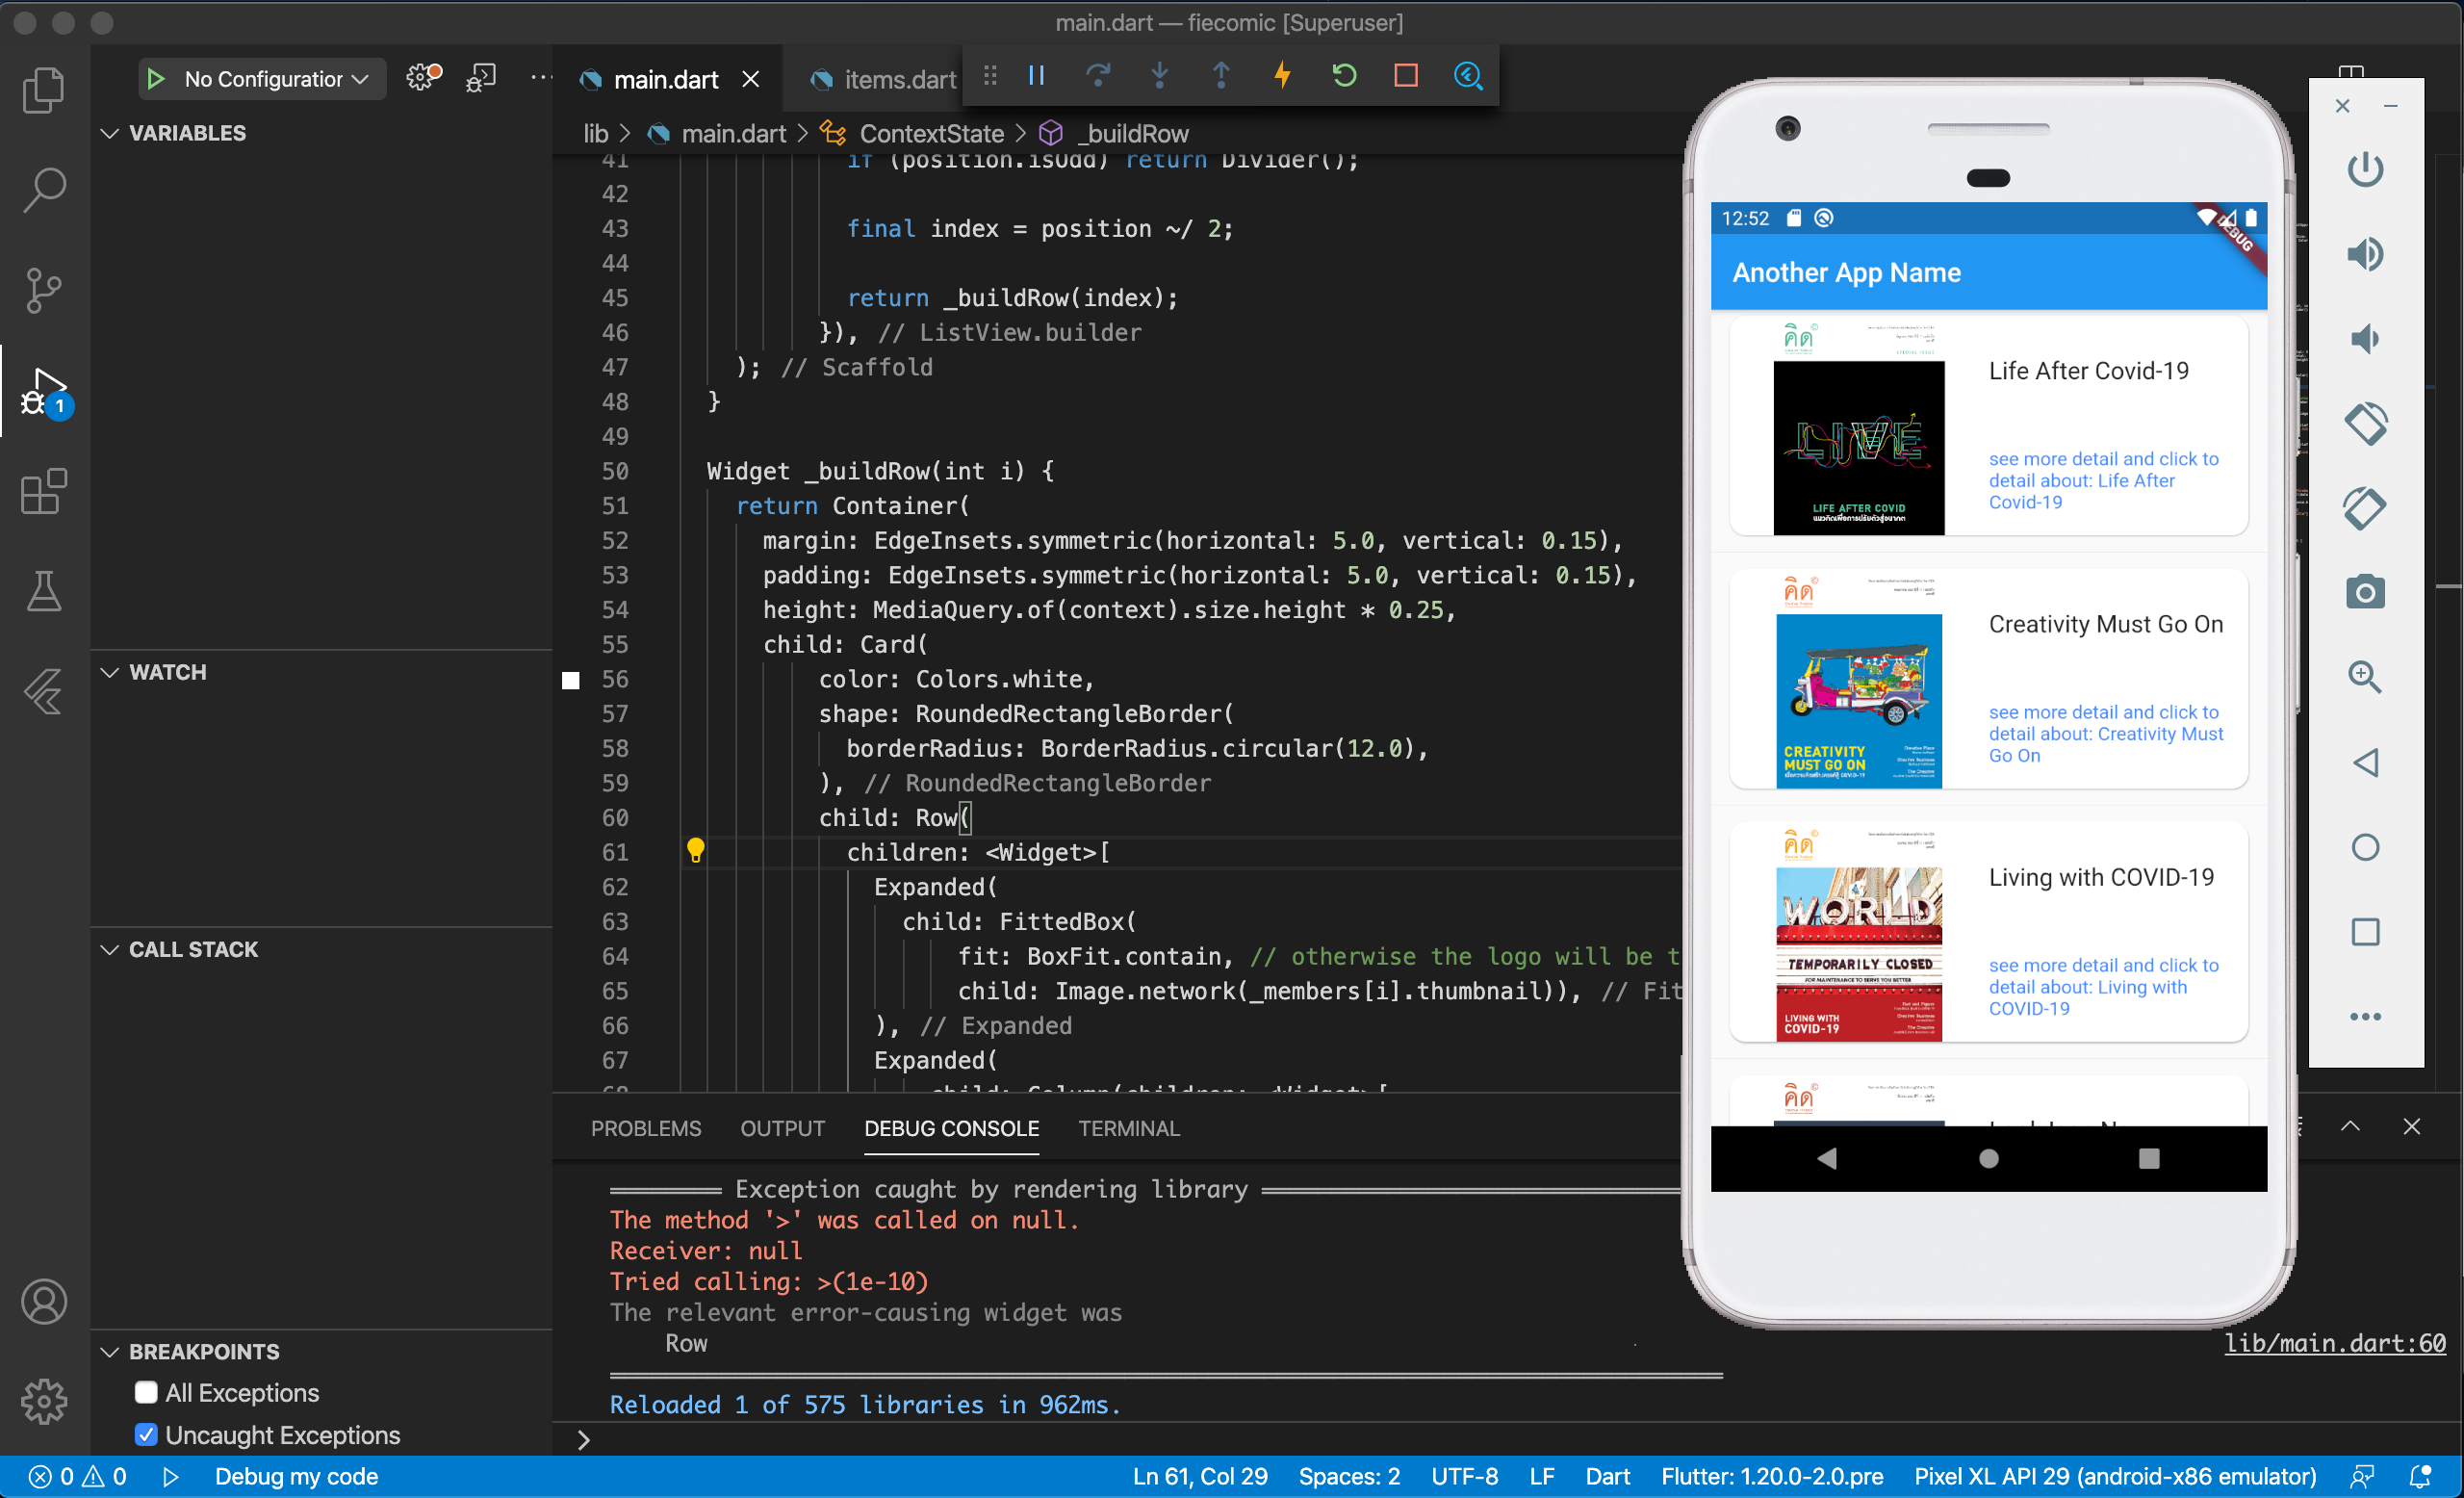
ลองไปแกะคำสั่งข้างบนดูอีกทีนะครับ หรือจะ Clean Code ก็ได้ส่วนของ ContextState() ไม่น่าจะยากละ