

บทเรียนสำหรับการพัฒนาระบบการรู้จำใบหน้า Face Recognition ร่วมกับ Python โดยดึงฐานข้อมูล Firebase ของ Google มาช่วย
Key Concept ง่ายๆ เลยคือการนำเครื่องมือ 4 ตัวมาใช้งานร่วมกันคือ Python กับ OpenCV ดึงฐานข้อมูล Face Recognition ผ่านระบบ Firebase
บทเรียนก่อนหน้า:
- การประมวลผลรู้จำใบหน้า Face Recognition ด้วย Python
- การดึงและจำแนกใบหน้า Pull Face ด้วย Python และ Face Recognition
- Face Recognition การเปรียบเทียบใบหน้าจากรูปภาพด้วย Python
- Face Recognition เปรียบเทียบข้อมูลใบหน้าแบบ Real-Time ด้วย Python และ OpenCV
ซึ่งถ้าเรียนรู้กันมาต่อเนื่องจะรู้ว่าเราจะสามารถทำระบบ ML หรือ Computer Vision ได้แบบฉลาดด้วย Library ของ Face Recognition มาช่วยเหลือ โดยเข้าใจการเข้ารหัสใบหน้าเปรียบเทียบกัน
คราวนี้เราต้องมาลองใช้ฐานข้อมูล Real-Time Database ของ Firebase กันก่อน ซึ่งก็คงไปวิธีการสมัครเอานะจาก Resource เหล่านี้:
- สร้างเว็บ CMS ด้วย Firebase Realtime Database และ Storage ตอนที่ 1
- สร้างเว็บ CMS ด้วย Firebase Realtime Database และ Storage ตอนที่ 2
- สร้างเว็บ CMS ด้วย Firebase Realtime Database และ Storage ตอนที่ 3
- Android Studio กับการทำระบบ Bookshelf ร่วมกับ Firebase เบื้องต้น ตอนที่ 1 (อ่านไปถึง 3 นะ)
ก็เปิดสร้าง Project ของ Firebase Real-Time Database ซะ

ทำการคัดลอก URL ของ Database ไว้ใช้งาน และเปิด Rule ของ database ดังนี้:
{
  "rules": {
    ".read": true,
    ".write": true
  }
}
สำหรับ Python เองก็จะมี Library นึงที่ช่วยให้เราทำงานร่วมกับ Firebase ได้เช่นกันเพียงแค่เราต้องเปิด Terminal ขึ้นมาหลังจากนั้น เรียก install ส่วนของ Package ต่อไปนี้:
$ pip3 install requests
และ ลง Python-Firebase
$ pip3 install python-firebase

สำหรับ Mac OSX อย่างที่ผมใช้จะเจอปัญหานึง เราต้องไป Research มาหน่อยว่าแก้ยังไง ส่วนใหญ่เค้าให้ Downgrade Python แต่ไม่อยาก Downgrade ก็เลยต้องไปที่ Path ต่อไปนี้:
$ cd /usr/local/lib/python3.7/site-packages/firebase/
ให้ทำการ Rename ไฟล์ async.py เป็น async_.py

หลังจากนั้นเปิดไฟล์ __init__.py และ firebase.py แก้ไข
ไฟล์ __init__.py บรรทัดที่ 3 แก้ไขเป็น:
from .async_ import process_pool
และ firebase.py แก้ไขบรรทัดที่ 12 เป็น:
from .async_ import process_pool
เสร็จละก็จะใช้งาน Python Firebase ได้ละ ทดสอบโดยการ ส่งข้อมูล JSON ไป Store บน Real-Time Database หน่อยดีกว่า ให้สร้างไฟล์ชื่อ firebase_cv.py ขึ้นมาใส่คำสั่งต่อไปนี้:
from firebase import firebase

firebase = firebase.FirebaseApplication('https://<<YOUR PROJECT ID>>.firebaseio.com/', None)
data =  { 'Name': 'BANYAPON',
          'Surname': 'POOLSAWAS',
          'Gender': 'M'
          }
result = firebase.post('/person',data)
print(result)
เราจะเพิ่ม Node ใหม่ลงใน Real-Time Database ว่า person เป็นการ push ชุดข้อมูลเข้าไปใหม่ ให้ทำการ Debug ผ่าน Visual Studio Code ได้เลย

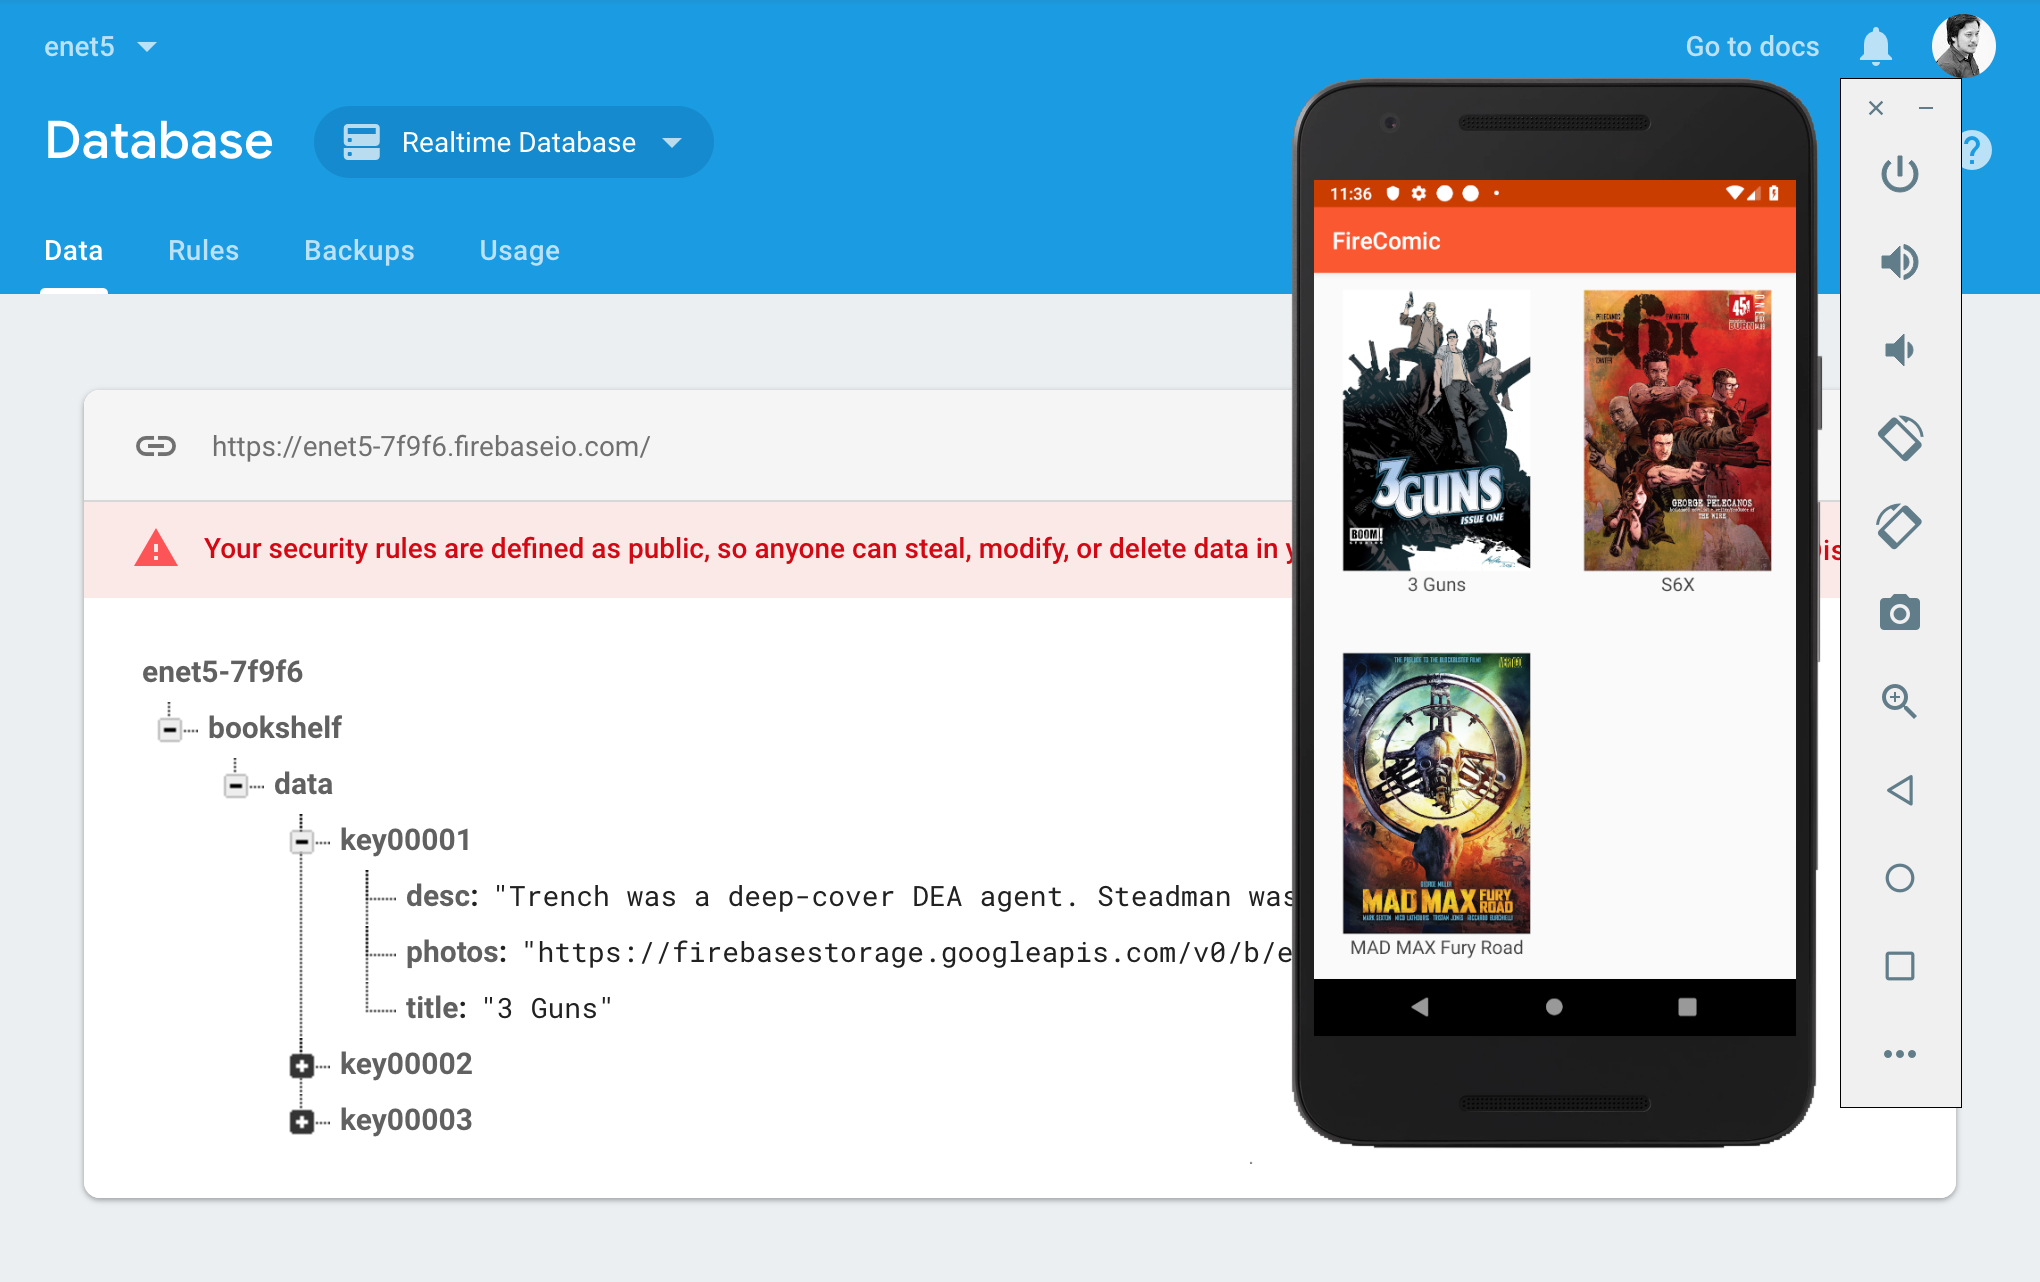
แปลว่าข้อมูลถูกส่งไปแล้ว ดังนั้นให้เราลองไปดูที่ Firebase Realtime-Database จะเห็นว่ามีข้อมูลเข้าไปแล้ว:

แปลว่า Project นี้เราพร้อมใช้งานได้แล้ว ให้เราลองสร้างไฟล์ firebase_cv_get.py ขึ้นมา เขียนคำสั่งรับค่า Database ดังนี้:
from firebase import firebase

firebase = firebase.FirebaseApplication('https://<<Project ID>>.firebaseio.com/', None)
result = firebase.get('/person/', '')
print(result)
ผลลัพธ์คือ:

ทีนี้เราไปหารูปภาพกันหน่อยสัก 3 รูป

ปรับแก้ข้อมูลของ Firebase Real-Time Database เราให้เป็นตามตัวอย่างดังนี้ (เพิ่ม Key ของ Image ซึ่งมี Path ของรูปภาพใน Storage เข้าไป)
data =  { 'Name': 'BANYAPON',
          'Surname': 'POOLSAWAS',
          'Gender': 'M',
          'Image' : 'banyapon.jpg'
}
ทำข้อมูลของ Ryan Gosling และ Margot Robbie ด้วย ให้มี 3 ชุดข้อมูล

ถ้าเราจะดึงข้อมูล Key และ Value มาทีละส่วนเราจะต้อง Library Json ของ Python ดึงวนเพื่อเรียก First Key ตัวแรกซึ่งเป็นรหัสที่ Firebase สุ่มให้มา แล้วไปต่อ JSON เพื่อเอา Key ตัวอย่างแบบบ้านๆ ของผมคือ:
import json
import requests

from firebase import firebase

firebase = firebase.FirebaseApplication('https://<<APP ID>>.firebaseio.com/', None)
result = firebase.get('/person/', '')
for person in result:
    jsn = requests.get('https://<<APP ID>>.firebaseio.com/person.json')
    data = jsn.json()
    print(data[person]['Name'])
    print(data[person]['Surname'])
    print(data[person]['Image'])
เราต้องการแค่ตัวแปร person สำหรับไปอ้างอิง ทีนี้มันจะวนลูปไล่ทีละรายการซึ่งค่อนข้างช้าหน่อย หลังจากนั้นเราจะไปเขียน Python และ OpenCV กัน
ให้เอา Code จากบทเรียน:
Face Recognition เปรียบเทียบข้อมูลใบหน้าแบบ Real-Time ด้วย Python และ OpenCV
มาปรับใช้กันหน่อย
import face_recognition
import cv2
import json
import requests

from firebase import firebase

videoCapture = cv2.VideoCapture(0)

person_face_encodings = []
person_face_names = []

firebase = firebase.FirebaseApplication('https://<<APP ID>>.firebaseio.com/', None)
result = firebase.get('/person/', '')
for person in result:
    jsn = requests.get('https://<<APP ID>>.firebaseio.com/person.json')
    data = jsn.json()

    database_image = face_recognition.load_image_file(data[person]['Image'])
    data_base_encoding = face_recognition.face_encodings(database_image)[0]

    person_face_names.append(data[person]['Name'])
    person_face_encodings.append(data_base_encoding)

data_locations = []
data_encodings = []
data_names = []
frameProcess = True

while True:
    ret, frame = videoCapture.read()
    resizing = cv2.resize(frame, (0, 0), fx=0.25, fy=0.25)
    rgb_resizing = resizing[:, :, ::-1]

    if frameProcess:
        data_locations = face_recognition.face_locations(rgb_resizing)
        data_encodings = face_recognition.face_encodings(rgb_resizing, data_locations)
        data_names = []
        for dc in data_encodings:
            matches = face_recognition.compare_faces(person_face_encodings, dc)
            name = "UNKNOWN"
            if True in matches:
                first_match_index = matches.index(True)
                name = person_face_names[first_match_index]

            data_names.append(name)

    frameProcess = not frameProcess
    for (top, right, bottom, left), name in zip(data_locations, data_names):
        top *= 4
        right *= 4
        bottom *= 4
        left *= 4
        cv2.rectangle(frame, (left, top), (right, bottom), (26, 174, 10), 2)
        cv2.rectangle(frame, (left, bottom - 35), (right, bottom), (26, 174, 10), cv2.FILLED)
        font = cv2.FONT_HERSHEY_DUPLEX
        cv2.putText(frame, name, (left + 6, bottom - 6), font, 1.0, (255, 255, 255), 1)
    cv2.imshow('Video', frame)
    if cv2.waitKey(1) & 0xFF == ord('x'):
        break
videoCapture.release()
cv2.destroyAllWindows()
ไม่มีไรมาก รูปภาพมันเก็บในเครื่องแล้วเราแค่ไปใส่ข้อมูลใน Real-Time Database ของ Firebase แค่ไปประกาศตัวแปร Array ว่า
person_face_encodings = []
person_face_names = []
แล้วไปวน Append Array ใน Code นี้:
firebase = firebase.FirebaseApplication('https://APPID.firebaseio.com/', None)
result = firebase.get('/person/', '')
for person in result:
    jsn = requests.get('https://APPID.firebaseio.com/person.json')
    data = jsn.json()

    database_image = face_recognition.load_image_file(data[person]['Image'])
    data_base_encoding = face_recognition.face_encodings(database_image)[0]

    person_face_names.append(data[person]['Name'])
    person_face_encodings.append(data_base_encoding)
กด Debug หรือ Run ใน Visual Studio Code เพื่อทดสอบ

จับหน้าเราได้บ้างไม่ได้บ้าง อยู่ที่มุมกล้อง

แปลว่าน่าจะได้ 100% ละ
เสร็จละ ลองทำ Python เชื่อมต่อกับ OpenCV และ Firebase พร้อมนำระบบตรวจจับใบหน้ามาใช้ด้วย พยายามศึกษากันหน่อยนะครับ บทความนี้ค่อนข้างยาว และ เทคนิคเยอะ





One Comment