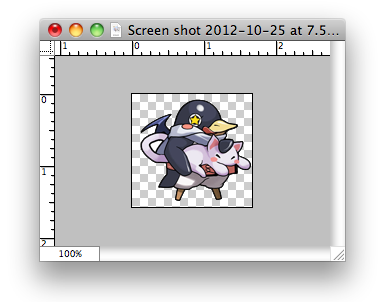
Tutorial ขั้นตอนการแทรกภาพกราฟิก Sprite ตัวละครลงใน Background ด้วย Cocos2D บน XCode สำหรับนักพัฒนาแอพพลิเคชันบน iOS หรือ iPhone เบื้องต้นจากขั้นตอนที่แล้วที่เราได้หน้าจอ Title และ Menu สำหรับเปลี่ยนหน้าเกมบน iPhone ต่อมาก็จะเป็นขั้นตอนสร้าง ฉากสำหรับเล่นเกมขึ้นมาซึ่งเบื้องต้นเราจะต้องเตรียมภาพของตัวละครที่เราจะนำไปเป็นตัวดำเนินเรื่องของเกมของเรา ผมได้เลือกภาพกราฟิกประเภท PNG ที่เป็นประเภท Transparent Background มาขนาดความกว้าง 100 pixels และความสูง 100 pixels มาประกอบตั้งชื่อว่า “Player.png”
ต่อมาให้ทำการแก้ไขไฟล์ PlayScene.m ใหม่ในส่วนของฟังก์ชัน init() โดยแก้ไขให้เป็นคำสั่งดังนี้
-(id) init
{
	if( (self=[super init] )) {
        //Create Player
        CGSize winSize = [[CCDirector sharedDirector] winSize];
        CCSprite *player = [CCSprite spriteWithFile:@"Player.png"
                                               rect:CGRectMake(0, 0, 120, 113)];
        player.position = ccp(player.contentSize.width/2, winSize.height/2);

        //Add Player to Game
        [self addChild:player];
    }
    return self;
}
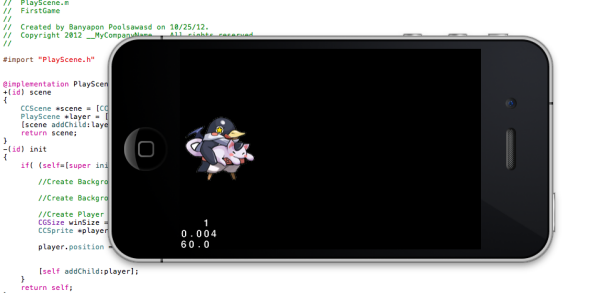
ทดลองทำการ “Run” ดูก่อนเบื้องต้น
ทำการเพิ่มฉากหลังของเกมลงไปโดยหาภาพฉากหลังที่เหมาะสมสำหรับเกมของเรา ตั้งชื่อว่า “BGGame.png” แล้วนำไปไว้ใน Project ของเรา
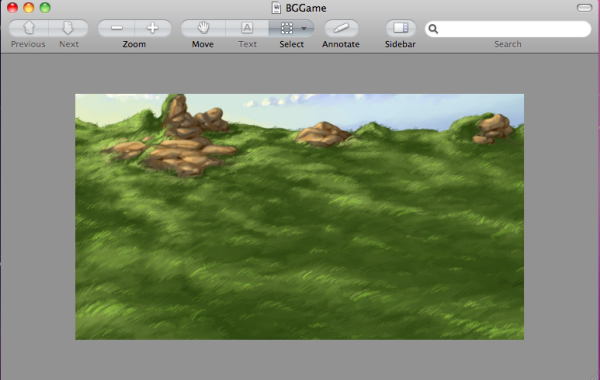
เพิ่มคำสั่งในการโหลดภาพฉากหลังลงไปในหน้า PlayScene แทรกลงไปก่อนหน้า การโหลด Player ตำแหน่งต่อไปนี้
CGSize winSize = [[CCDirector sharedDirector] winSize];
//Create Background
CCSprite *bgGame = [CCSprite spriteWithFile:@"BGGame.png"];
bgGame.position = ccp(bgGame.contentSize.width / 2, bgGame.contentSize.height / 2);
//Create Background
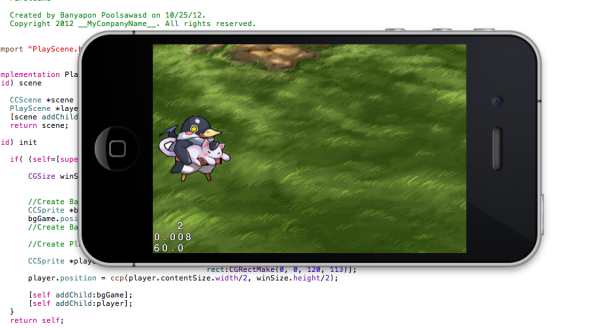
และไปทำการ add Object ลงในเกมของเราที่บรรทัดก่อน return self; ดังนี้
[self addChild:bgGame];
[self addChild:player];
ลองทำการ “Run” ตัวแอพพลิเคชันของเราดูอีกครั้ง
ต่อมาให้เราหา ศัตรูของเกมนี้ โดยใช้ไฟล์นามสกุล PNG และมี Background เป็น Transparent เช่นกันตั้งชื่อว่า “Enemy.png”
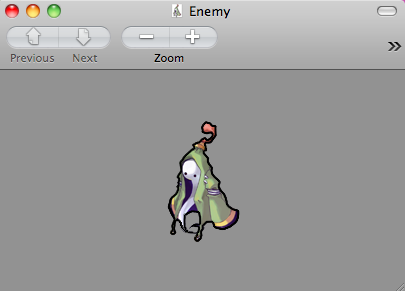
ไปที่ไฟล์ PlayScene.m แล้วเพิ่มฟังก์ชันต่อไปนี้ลงไป เพื่อเป็นการประกาศตัวแปลและสร้าง ศัตรูขึ้นมา
-(void)addTarget {

    CCSprite *target = [CCSprite spriteWithFile:@"Enemy.png"
    rect:CGRectMake(0, 0, 95, 127)];

    // Determine where to spawn the target along the Y axis
    CGSize winSize = [[CCDirector sharedDirector] winSize];
    int minY = target.contentSize.height/2;
    int maxY = winSize.height - target.contentSize.height/2;
    int rangeY = maxY - minY;
    int actualY = (arc4random() % rangeY) + minY;

    // Create the target slightly off-screen along the right edge,
    // and along a random position along the Y axis as calculated above
    target.position = ccp(winSize.width + (target.contentSize.width/2), actualY);
    [self addChild:target];

    // Determine speed of the target
    int minDuration = 2.0;
    int maxDuration = 4.0;
    int rangeDuration = maxDuration - minDuration;
    int actualDuration = (arc4random() % rangeDuration) + minDuration;

    // Create the actions
    id actionMove = [CCMoveTo actionWithDuration:actualDuration
    position:ccp(-target.contentSize.width/2, actualY)];
    id actionMoveDone = [CCCallFuncN actionWithTarget:self
    selector:@selector(spriteMoveFinished:)];
    [target runAction:[CCSequence actions:actionMove, actionMoveDone, nil]];

}
เพิ่มคำสั่ง ให้ตัวศัตรูเคลื่อนที่จากขวาไปซ้าย ถ้าหลุดออกพิกัดความกว้างหน้าจอให้เคลียร์ค่าของศัตรูออกไป
-(void)spriteMoveFinished:(id)sender {
    CCSprite *sprite = (CCSprite *)sender;
    [self removeChild:sprite cleanup:YES];
}
กลับไปที่ฟังก์ชัน init() เพิ่มคำสั่งต่อไปนี้ต่อจากการ add ตัว Player ของเราเป็นการใช้เวลานับถอยหลังเพื่อให้ศัตรูปรากฏตัว
[self addChild:bgGame];
[self addChild:player];
[self schedule:@selector(gameLogic:) interval:1.0];
เพิ่มฟังก์ชันเข้าไปใหม่ เพื่อให้ระบบนับเวลาถอยหลังเพื่อโหลคตัวศัตรูของเกมให้ปรากฏขึ้นมา
-(void)gameLogic:(ccTime)dt {
    [self addTarget];
}
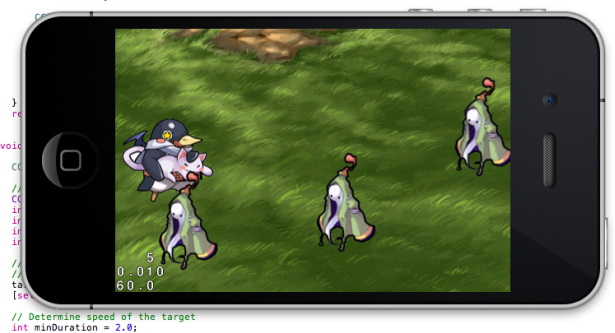
ทดสอบ “Run” ตัวแอพพลิเคชันเกมของเราจะพบว่าตัวศัตรูจะพุ่งเข้าหาเรามากมาย
สิ่งที่ได้จากบทเรียนนี้ คือหลังจากเข้าสู่หน้าจอเมนูเลือกเล่นเกม ก็จะสามารถโหลดภาพกราฟิกมาวางซ้อนลำดับชั้นได้ทั้งตัวผู้เล่น และศัตรู